Showing posts with label kids. Show all posts

Art Station

/ Wednesday, August 1, 2012 /
Up until now, I have had art supplies scattered all over the house.
Paints and brushes were kept in the hall closet, crayons in the kids room, markers and colored pencils at my desk. I decided that I wanted a place where I could keep all of these items in one place that was easy enough for the kids to get to on their own.
Here is what I came up with.


All of the pencils, markers and crayons are kept at the bottom and both girls can easily reach them.
The paint in on the third tier which is high enough that my two year old can not reach them without assistance. (My four year old can reach them but she knows that she must ask before getting them down.)
In the top bin I keep a bunch of clothes pins. I have a wire strung across a wall in the girls room. We use the clothes pins to display their creations up on the wire. It is so easy to change out the artwork and saves space on our refrigerator.
Our art station sits on top of  some sterilite drawers that are full of construction paper, regular computer paper, and lined paper.

I am so happy with this set up. Now the girls are able to color without having to wait for me to get out the supplies and even though the messier supplies (paint and glue) are located in the same area. I don't have to worry about the kids getting into them and making a huge mess.


Don't forget to VOTE for me!!


Visit Top Mommy Blogs To Vote For Me!
This post is sponsored by Social Spark. 
Get paid to blog!!
Set Your Price. Choose your Advertisers. Sign up for SocialSpark!

Homemade Holidays for the Grandparents

/ Wednesday, July 25, 2012 /
Grandparents play a special part in a child's life and a gift to a grandparent should be just as special.
Here are a few fun gift ideas for grandparents.

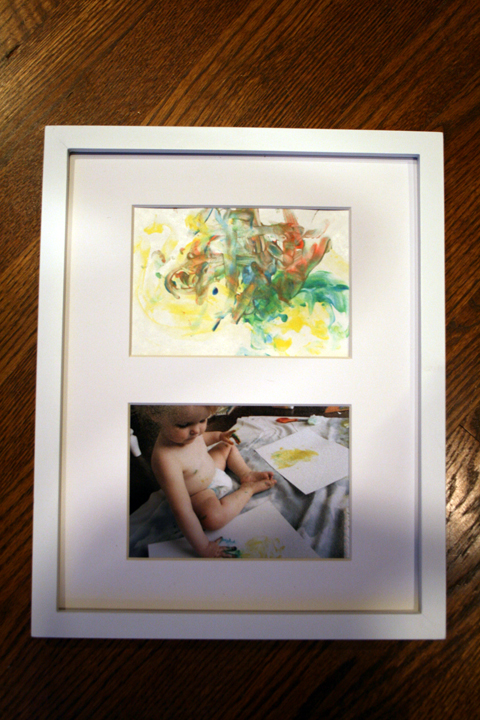
Framed Finger Paintings


Photo Display.


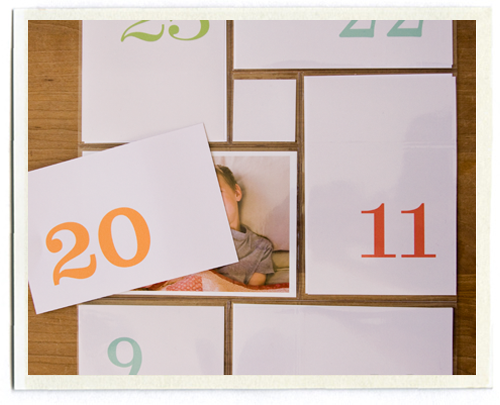
Photo Countdown.

Be sure to check out my posts on Handmade Gifts for Boys, Handmade Gifts for Girls and Handmade Holidays for Hubby.

Don't forget to VOTE for me!!

Visit Top Mommy Blogs To Vote For Me!
This post is sponsored by Social Spark. 
Get paid to blog!!
Set Your Price. Choose your Advertisers. Sign up for SocialSpark!

Handmade Holidays for Hubby

/ Tuesday, July 24, 2012 /
Christmas is only 5 months away!!
It is never to early to start preparing your gift list.
If you are taking the DIY route then here are a few amazing gifts to make your hubby.

 Leather Journal - Tutorial 

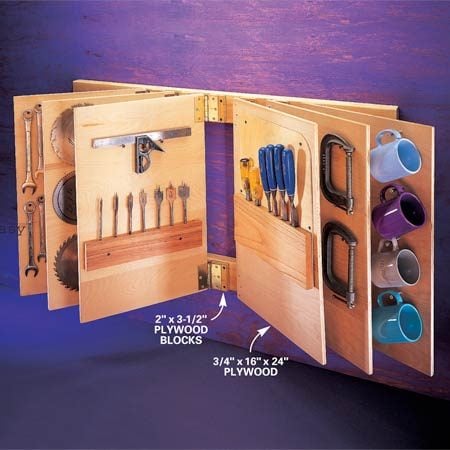
 Golf Accessories Bag

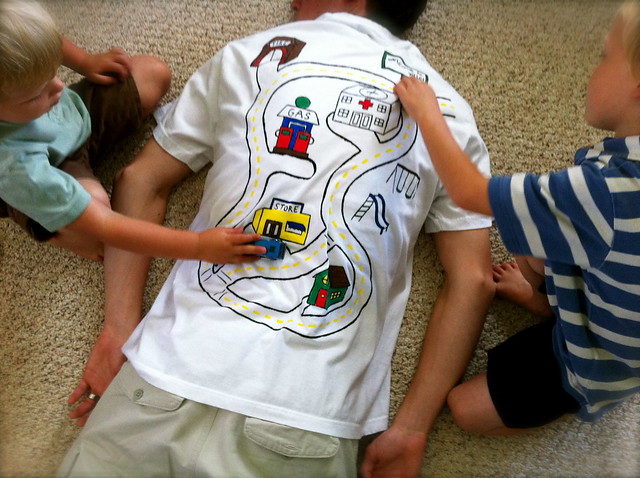
Car Shirt

Be sure to check out my posts on Handmade Gifts for Boys and Handmade Gifts for Girls.


Don't forget to VOTE for me!!
 
Visit Top Mommy Blogs To Vote For Me!
This post is sponsored by Social Spark. 
Get paid to blog!!
Set Your Price. Choose your Advertisers. Sign up for SocialSpark!

Handmade Christmas Gifts for Girls.

/ Friday, July 20, 2012 /
Yesterday I posted some handmade gifts for boys. Today I would like to share a few gifts that I am considering making for my two girls.

 I have the perfect cubbies for this adorable bookcase dollhouse. The girls would love this.


These pj's look so warm and cozy!


These DIY princesses would be perfect for playing with inside the bookcase doll house above.


 The girls would have a blast "cooking" in this fun DIY kitchen. maybe on a smaller scale though.


 And of course every chef needs their very own apron and chef hat.


This crayon caddy would be perfect for keeping the girls entertained while we are away from home.


This play tent is so adorable and would be easy to to use indoors, outdoors, or pack away when not in use.


 What better way to keep those toes warm in the winter than a pair of colorful tights.


 Yes! Everyone needs a snuggie!


Don't forget to VOTE for me!!


Visit Top Mommy Blogs To Vote For Me!
This post is sponsored by Social Spark. 
Get paid to blog!!
Set Your Price. Choose your Advertisers. Sign up for SocialSpark!

Handmade Christmas Gifts for Boys.

/ Thursday, July 19, 2012 /
If you have been following me on facebook you know that I have had Christmas on my mind. Yes I know it is only July one of my goals this year was to make most our Christmas gifts. Well guess how many I have made so far? NONE!!! However, I am still determined to whip up a couple gifts before Christmas is upon us. I have three amazing nephews so I have been looking for some fun gifts that they will love. (I have to say that girls are so much easier to make things for) Here are a few of the ideas that I came up with.


This little Yoda softie is perfect for cuddling as well as fighting off any bad guys.


Every kid loves superheroes. Let your kids fight crime and save the world in style with these amazing superhero capes.


And of course, every superhero must have a mask to protect their secret identity.


This felt tool box is perfect for the younger ones who want to help daddy with any household repairs.


These fun and simple-to-make shorts would be perfect for lounging around the house and watching Saturday morning cartoons.


This wallet would be perfect for holding any gift cards or money received over the holidays.


This mini BBQ is just too cute. (Although, if you are making this for a Christmas gift your little boy may need to practice grilling steaks indoors before the weather is warm enough to play outside.)


Are these not the cutest err, manliest pj's you have ever seen. Perfect for those cold winter nights.


And what kid would not want a snuggie. Especially one made from fabric with their favorite sports team, monsters or dinosaurs.


Don't forget to VOTE for me!!


Visit Top Mommy Blogs To Vote For Me!
This post is sponsored by Social Spark. 
Get paid to blog!!
Set Your Price. Choose your Advertisers. Sign up for SocialSpark!


Toddler bed to reading bench

/ Wednesday, July 11, 2012 /
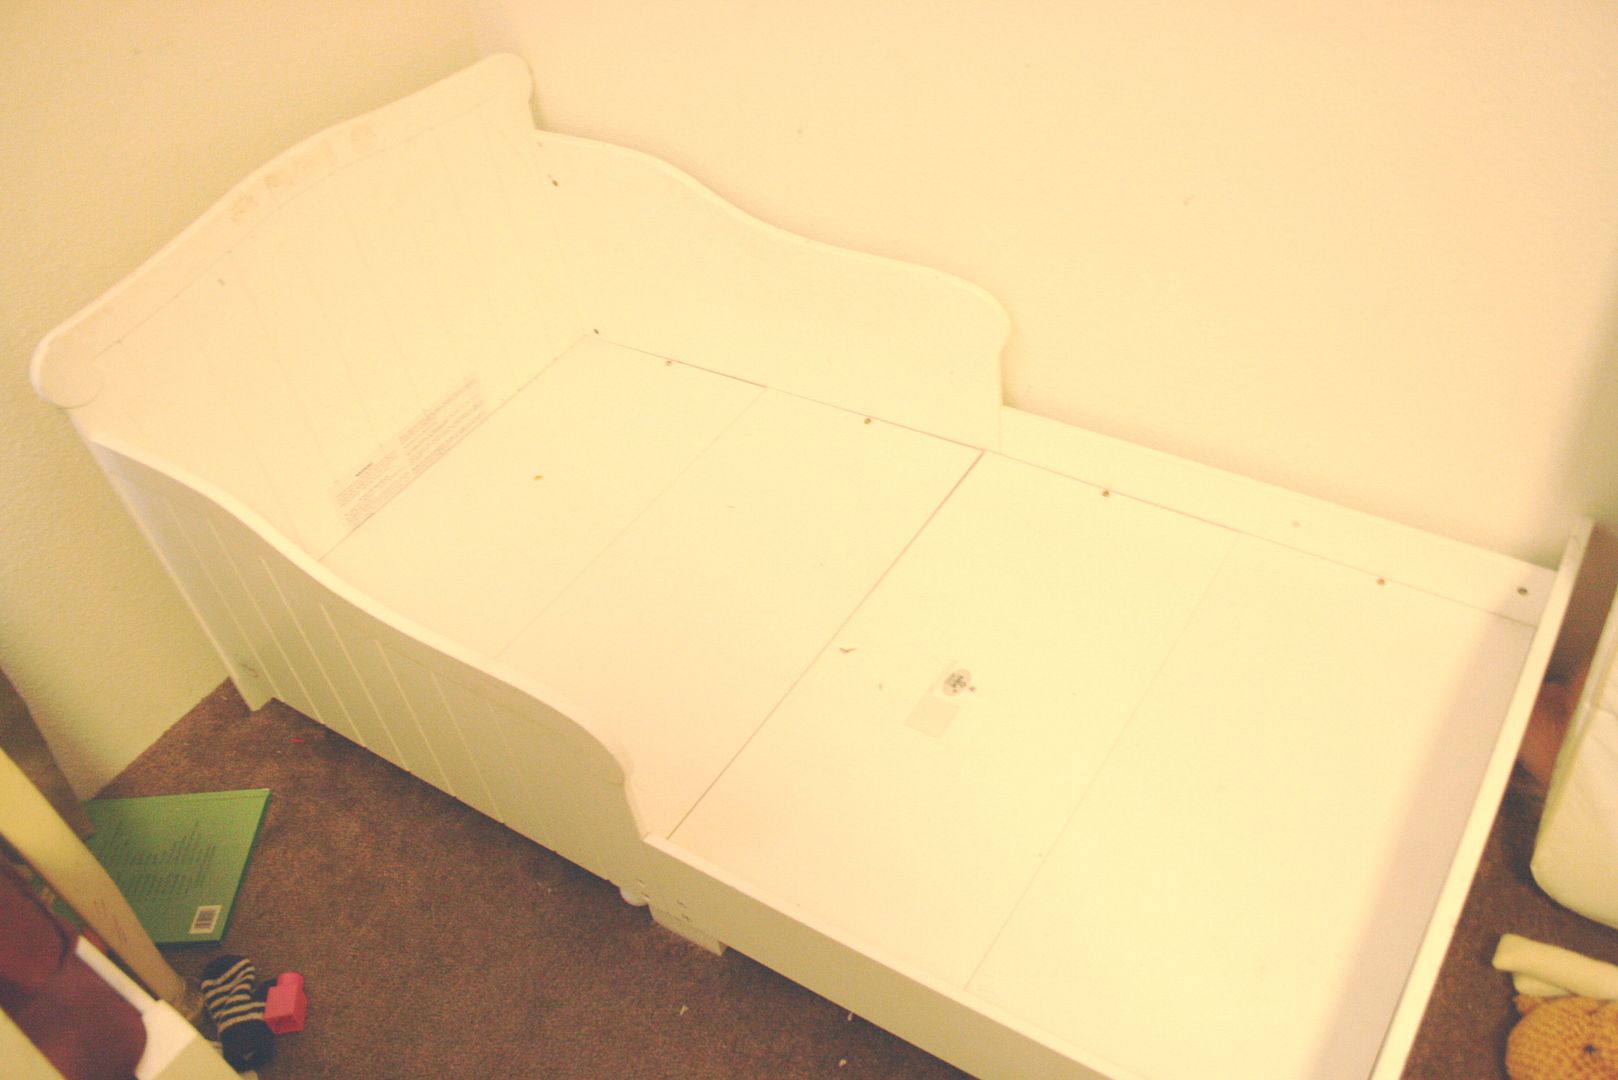
We moved both girls into twin beds back in October. I was planning on selling Jocelyn's toddler bed on Craigslist but then this great idea to turn it into a child's bench. Well, I finally got around to turning that idea into reality.

Here is what the bed looked like before. (I must apologize for the terrible photos throughout this post. The room I was working in had little light.)


I started by taking the entire thing apart. I cut about a foot off of each side piece and then reattached them to the headboard.


This little square board was used as a center support on the bed. One side was attached to this side piece while the other side was attached to another board. I just moved it over a little and drilled some new holes in the side. (please excuse the mess)


I put one of the braces back in but I had to cut the other one to fit.


I also cut one of the bottom boards lengthwise to fit.


I was planning on using two pillows. One for the seat and one against the back. However the one for the seat did not provide enough cushion and was not that comfortable. I really didn't want to spend any extra money to buy foam (that stuff is expensive) so I decided to see what I could do with the toddler mattress.

I measured how large I would need it to be and started cutting though the material. Once I cut all the way around, I used some wire clippers to clip off the wires at the springs. I did my best to twist the remaining wire around the springs and make sure that all of the ends were facing towards the center.


Once I was happy with the size and all the wires were in place I used a hot glue gun to glue the open end shut. (Very professional, right!)


After the glue dried I slipped a large pillow case over the mini mattress and plopped it on the bench!! It looked perfect. I then took the bench outside, sanded it and gave it a couple coats of red spray paint.


I'm pretty sure Serenity would lounge around on this thing all day if I let her.


Copyright © 2010 Home Sweet Home, All rights reserved
Design by DZignine. Powered by Blogger