As most of you know my family recently took a 16 hour (one way) road trip. In yesterdays post I shared with you a few tips and tricks to surviving a long road trip with two young kiddos as well as some great snack options. If you missed that post you can check it out HERE.

Today I would like to share the games and activities I used to keep my girls entertained.

The first activity the girls received was this fun eye spy game. I made some binoculars out of recycled paper towel rolls to make the game a little more exciting. I made the printable using some clip art I found on the computer and slid them into plastic sheet protectors. I gave the girls a dry erase marker to cross off the items as she found them. Not only did the dry erase marker easily wipe off the sheet protectors, they also wiped off of the window and car seats as well. This game was a huge hit with Jocelyn. It kept her entertained for about 30 minutes and she found almost everything on the list. It may have lasted longer but she was holding it against the window and it fell down sliding between the window and the door of the car. Anyone know how I can get that out of there? Serenity had more fun scribbling all over the paper (and window and car seat). Either way it still kept her entertained for a while.

The next activity was one of my favorites. I cut up a few cereal boxes and drew some designs on them. Jocelyn is learning to read so I also made a few with words for her. I traced over the designs and words with a hot glue gun. Once the glue was dry I used a glue stick around the edges of the cardboard and glued some colorful paper on top. When the girls colored on the paper the designs magically appeared (or at least the girls thought it was magic). They had so much fun trying to guess what the design was. Jocelyn also loved sounding out each letter as it appeared. I also made some fun crayons by melting some broken crayons in a mini muffin tin. The girls thought these were amazing and they were a lot easier for Serenity to hold onto. Also, since they were flat, there was no problems with them rolling off onto the floor.

These balloons are filled with play dough! When I was little I used to fill balloons up with sand. I loved how they felt when I squeezed them, however, they made a huge mess when they broke open. By filling them with play dough they don't make a mess when they break open. We did have one break open during our trip and all of the play dough stayed in a neat little ball. I just tossed in in a plastic baggie until we got home. The girls loved squeezing these into different shapes. Serenity even fell asleep while playing with one.

I came up with the idea for these telephone cans while I was making the divider curtain to put up between the girls. I poked a hole in the bottom of two small tomato sauce cans then threaded a cotton string between the them. After I made it I had Jocelyn test it out with me and it did not work so well. However, that did not bother the girls. They had a blast talking to each other while the curtain was up. They spent several minutes telling each other stories, making funny sounds, and giggling into the phones. It was amazing how easily their arguing and bickering turned into giggling and laughing when I placed the divider between the girls and handed the "phones" to them.

I found these adorable, free cupcake printables and thought the girls would have fun "baking" cupcakes. I did a quick search for some oven clip art, Glued the top, bottom, and inside of the oven onto some cardboard. I then glued the door onto another piece of cardboard and attached it to the rest of the oven so that it opens. The girls enjoyed this but they got board with it pretty fast. However, they have been playing with it a lot since we got home. At home they enjoy "baking" the cupcakes for each other. I believe this is the reason it was not a big hit in the car because it was hard for them to pass the cupcakes around without them falling apart. This may work out better if you have a smaller car were the children are sitting closer together.

During our trip we were going to be visiting with family members that Jocelyn has not seen since she was little and Serenity has never met. I thought it would be fun to print out some photos of those family members and make a puzzles with them. This way the girls could familiarize themselves with their cousins, aunts, uncles, and grandparents before we got there. I think this helped Serenity out a lot since she is going through her 'stranger danger' phase. I glued the photos onto some cardboard so that they wouldn't rip and be easier to work with.

This fishing game was super simple to make. I cut the fish out of bright colored felt and used permanent marker to draw on the eyes and mouth. I hot glued a paperclip to the back of each fish. The magnets were leftover from a project I did a while back. I wrapped some cotton string around them then added a dab of hot glue to make sure the string stayed in place. I tossed the fish onto the floorboard of the car before giving each kid a magnet. They dropped the magnet down while holding onto the other end of the string. The car seats are up high enough that they could not see the fish. Each girl had a blast tossing the magnet down then pulling it back up again to see if they had caught anything. They got super excited when they caught more than one fish.

While on vacation we made a point to visit the zoo. There is not a zoo close to were we live and the kids have not been to one in over a year, so we thought they would enjoy it. Using permanent marker, I drew this fun map onto some muslin with a zoo right in the center. I also included a fire house, cafe, pond, park, gas station, library, market and a few houses. Then using some fun fabric in the same size, I sewed right sides together, turned it inside out and sewed it shut. I also gave the girls a couple cars to drive around the map. Even though they are a little too big for the roads, the girls did not seam to care. I cut these maps to fit perfectly onto their travel mats. It worked out great and kept the car from rolling onto the floor. (This map is a close copy to a larger one I found on pinterest however I lost the link. If you know what I am talking about I would appreciate it if you gave me the link so I could give credit.)

I found these free, printable dragon masks and thought the kids would enjoy pretending to be dragons on our trip. I let the girls pick out what dragon they wanted and then laminated them so that they would last longer. Jocelyn wore her mask for most of the trip home. Serenity didn't enjoy it quite as much and was tired of wearing it after only a few minutes. I'm so glad that I laminated them though. I have a feeling they will be getting a lot more use in the future.

Jocelyn is learning to read and write so I was so excited when I discovered handwritingworksheets.com you can enter any word or phase and it will turn it into a handwriting worksheet. I made one for each of the girls using their names and then I laminated them. ( I love my laminating machine, can you tell?). By laminating them, not only will they last longer but the girls can write on them with dry erase marker and it wipes right off so they can try again. This is a little advanced for Serenity but I knew the girls would argue if I did not give them the same activity. She did enjoy coloring all over the sheet and wiping it off though. And it will come in handy in a couple years.

Pipe cleaners are always fun (actually I think they are called fuzzy sticks but I grew up calling them pipe cleaners so pipe cleaners they shall be.) The girls made all sorts of bracelets, necklaces, lizards, snakes, and monsters out of these. Serenity got a little upset with these since she wanted to make the same things that Jocelyn was making but just couldn't get the hang of it. However, she still had a lot of fun with them and even had to show off her bracelets to the cashiers at the gas station.

Remember the busy book page I showed you a couple weeks ago? Well I didn't get to far with that. In fact I only finished one more page. I decided to sew the two pages together and insert a piece of cardboard between them (to make it stiffer) for the time being. Maybe one day I will actually complete the book but for the sake of the trip, this worked out perfect. I did make two of them so the girls could each have their own. On the other page I attached some fasteners. The girls enjoyed the the fasteners but the button side was the biggest hit. Serenity was happy when she figured out how to work the buttons.

I love these adorable, printable sewing pattern! I glued them onto some cardboard to make them easier to handle. The 'needles' were made with pipe cleaners and attached to a long piece of yarn. While working with these Jocelyn kept saying "Mom, I'm getting to be good just like you." Now she is determined to start using my sewing machine. Lol, Serenity began by placing the yarn through any random hole but when she saw Jocelyn's in a nice pattern she asked me to help her. With only a few simple instructions she was able to do it all by herself.

This sticker book was a super simple to make and kept the girls entertained for quite some time. The book was made from plain paper, cut in half and folded. I punched holes in the center and tied it together. (fancy, right?) I have a whole stack of stickers and many of them have doubles. I took the doubles of each sticker and placed them randomly throughout the book. The matching stickers were handed to the girls and they had to go through the book and match up the pairs. Jocelyn was great at finding the matches and also helped Serenity out with hers. Serenity loved this activity but had more fun placing the stickers randomly throughout the book instead of finding matches. If your kids are younger (3 or under) I would suggest just giving them some paper and stickers and skip the matching part.

These window stickers were left over from Easter. The girls had fun placing them on the window, taking them down, and then putting them back up again. Jocelyn even liked to tell stories about the bunnies and frogs at she was sticking them to the window and moving them around to go with her story. Serenity found Jocelyn's stories to be very entertaining and even tried making up a few of her own.

I had a couple plastic snakes, chalkboards and a ball n' cup game left over from Easter that I forgot to put in their Easter basket (oops). The Glow in the dark butterflies and bracelets were from the dollar store and kept the girls entertained once it was dark. The two cameras are older and do not get used much anymore so I thought the girls might have fun taking pictures along the trip. Serenity had trouble pushing the button down hard enough to take photos and soon gave up. However, Jocelyn had her camera by her side the entire trip. She had a blast take photos of all the animals at the zoo even though many of them did not turn out. She also took a gazillion photos of her feet.

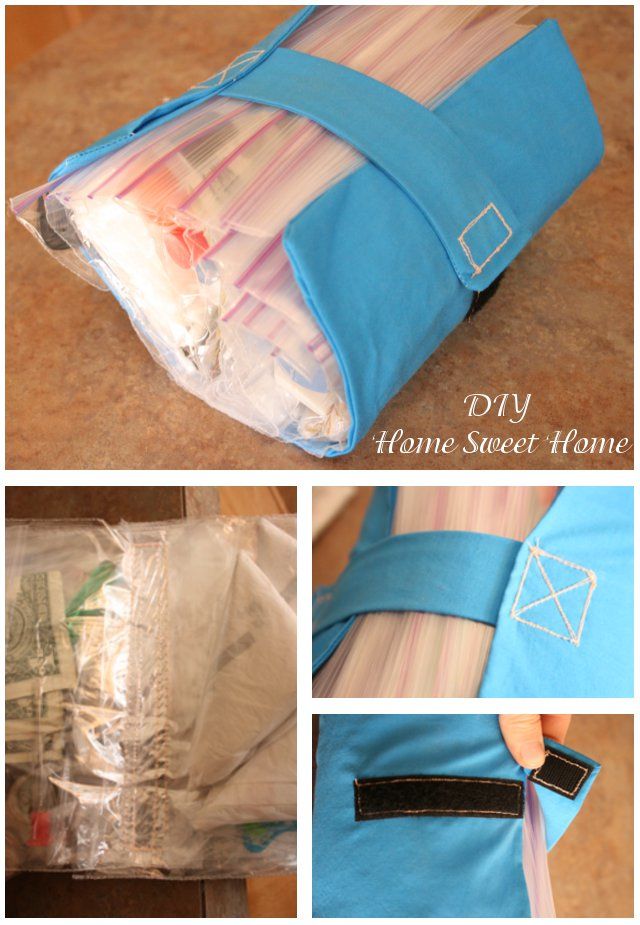
I dug these plastic tubs out of our garage (they are part of a cupcake carrier that we hardly ever use.) and stuffed everything inside of them. They slide under the back seat perfectly which kept everything out of the way and I could easily reach back and grab what I needed.
I was planning on getting a new activity out every hour, however, once we were on the road I decided to just grab a new activity whenever I could tell that the girls were getting board or cranky. Sometimes they would only last a few minutes between activities and other times they would go several hours. This way, I had more than enough activities to keep them entertained both ways. If I had given them one every hour then they would have had nothing new to play with on the trip home.
The trip ended up being a huge success (both ways). There was very little crying and overall, everyone seemed to have a good time. Even Hubby joined in on a few of the games. He especially liked the eye spy game and loved cheering them on during the fishing game.
Again, if you missed part 1 of this post your can read it HERE.


Today I would like to share the games and activities I used to keep my girls entertained.

The first activity the girls received was this fun eye spy game. I made some binoculars out of recycled paper towel rolls to make the game a little more exciting. I made the printable using some clip art I found on the computer and slid them into plastic sheet protectors. I gave the girls a dry erase marker to cross off the items as she found them. Not only did the dry erase marker easily wipe off the sheet protectors, they also wiped off of the window and car seats as well. This game was a huge hit with Jocelyn. It kept her entertained for about 30 minutes and she found almost everything on the list. It may have lasted longer but she was holding it against the window and it fell down sliding between the window and the door of the car. Anyone know how I can get that out of there? Serenity had more fun scribbling all over the paper (and window and car seat). Either way it still kept her entertained for a while.
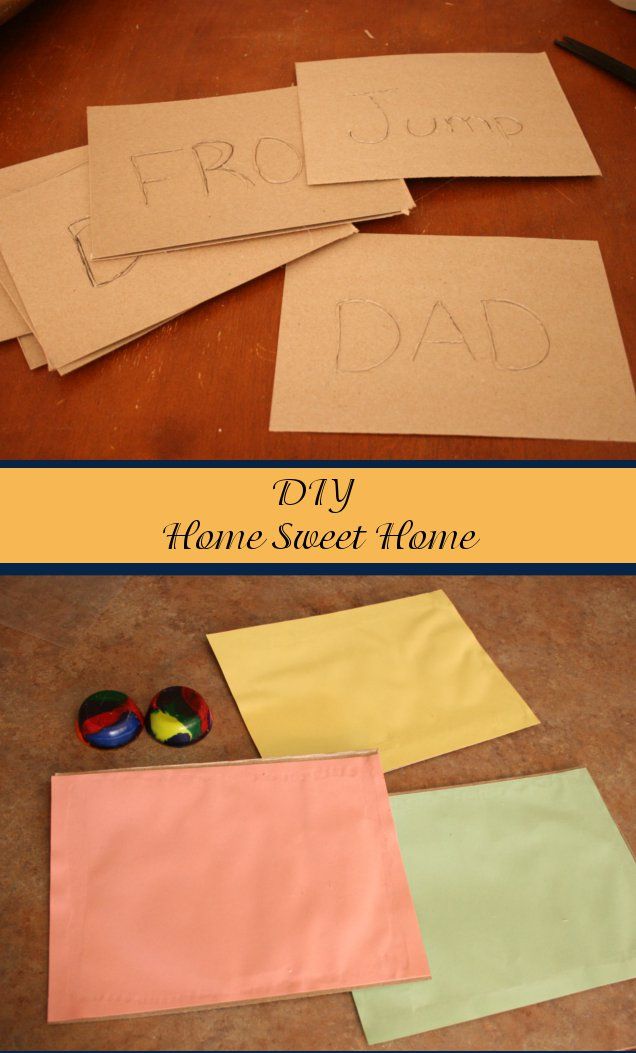
The next activity was one of my favorites. I cut up a few cereal boxes and drew some designs on them. Jocelyn is learning to read so I also made a few with words for her. I traced over the designs and words with a hot glue gun. Once the glue was dry I used a glue stick around the edges of the cardboard and glued some colorful paper on top. When the girls colored on the paper the designs magically appeared (or at least the girls thought it was magic). They had so much fun trying to guess what the design was. Jocelyn also loved sounding out each letter as it appeared. I also made some fun crayons by melting some broken crayons in a mini muffin tin. The girls thought these were amazing and they were a lot easier for Serenity to hold onto. Also, since they were flat, there was no problems with them rolling off onto the floor.
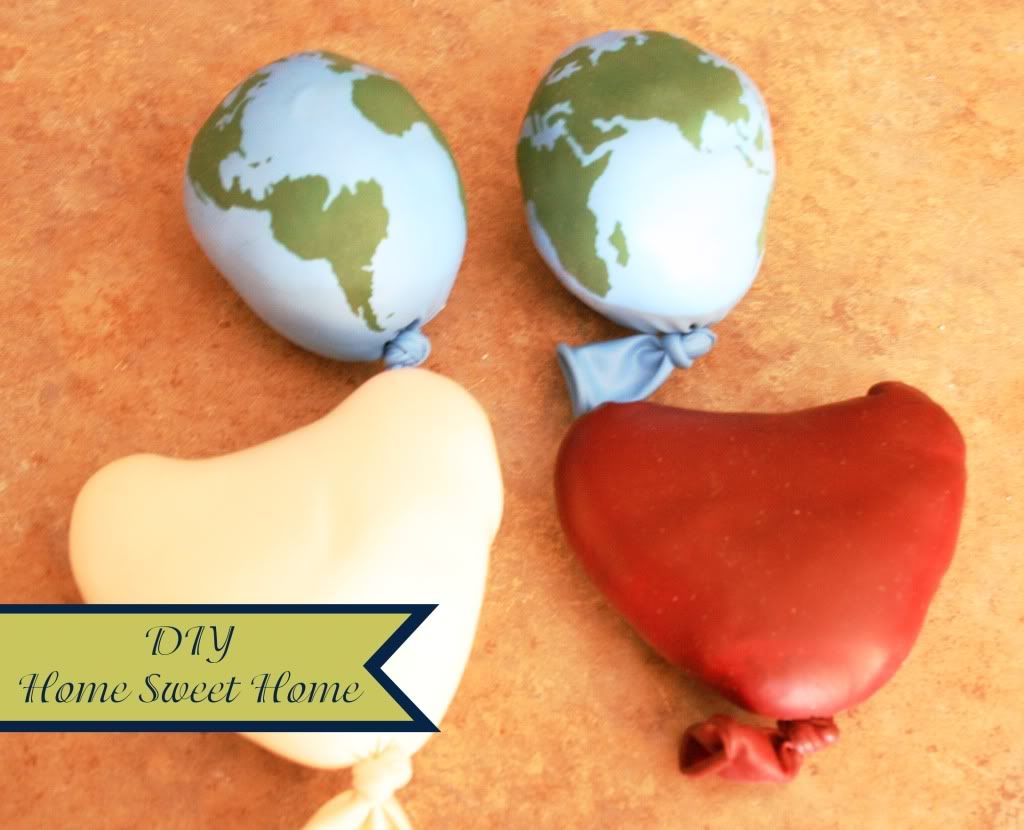
These balloons are filled with play dough! When I was little I used to fill balloons up with sand. I loved how they felt when I squeezed them, however, they made a huge mess when they broke open. By filling them with play dough they don't make a mess when they break open. We did have one break open during our trip and all of the play dough stayed in a neat little ball. I just tossed in in a plastic baggie until we got home. The girls loved squeezing these into different shapes. Serenity even fell asleep while playing with one.
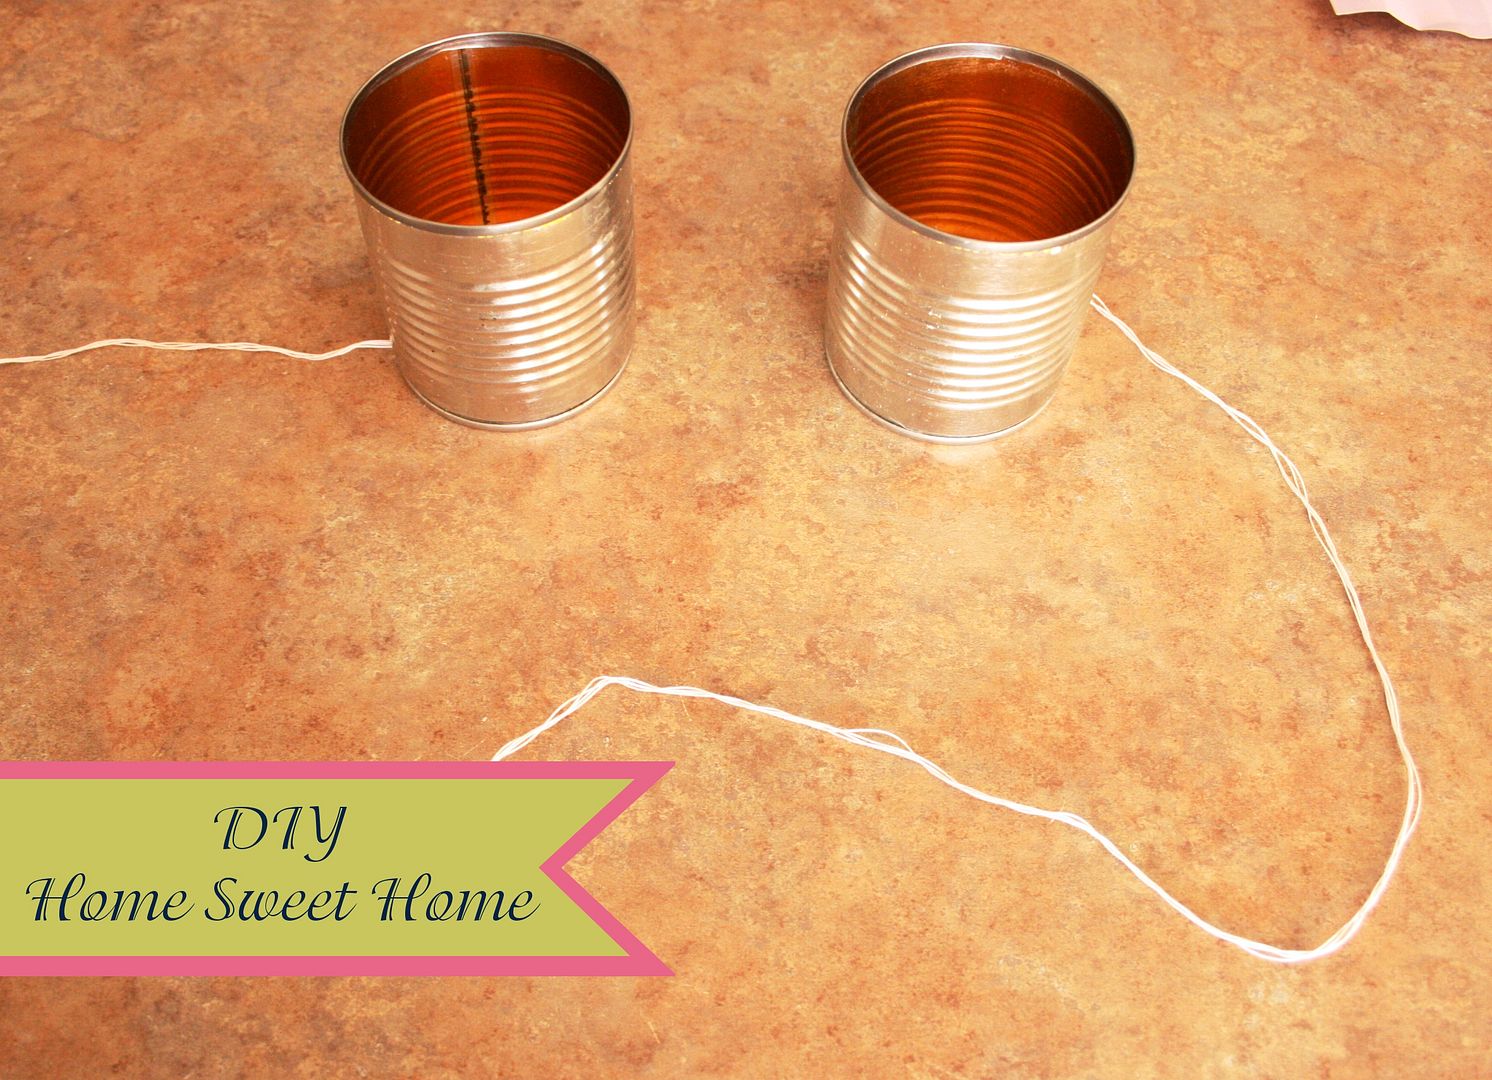
I came up with the idea for these telephone cans while I was making the divider curtain to put up between the girls. I poked a hole in the bottom of two small tomato sauce cans then threaded a cotton string between the them. After I made it I had Jocelyn test it out with me and it did not work so well. However, that did not bother the girls. They had a blast talking to each other while the curtain was up. They spent several minutes telling each other stories, making funny sounds, and giggling into the phones. It was amazing how easily their arguing and bickering turned into giggling and laughing when I placed the divider between the girls and handed the "phones" to them.

I found these adorable, free cupcake printables and thought the girls would have fun "baking" cupcakes. I did a quick search for some oven clip art, Glued the top, bottom, and inside of the oven onto some cardboard. I then glued the door onto another piece of cardboard and attached it to the rest of the oven so that it opens. The girls enjoyed this but they got board with it pretty fast. However, they have been playing with it a lot since we got home. At home they enjoy "baking" the cupcakes for each other. I believe this is the reason it was not a big hit in the car because it was hard for them to pass the cupcakes around without them falling apart. This may work out better if you have a smaller car were the children are sitting closer together.
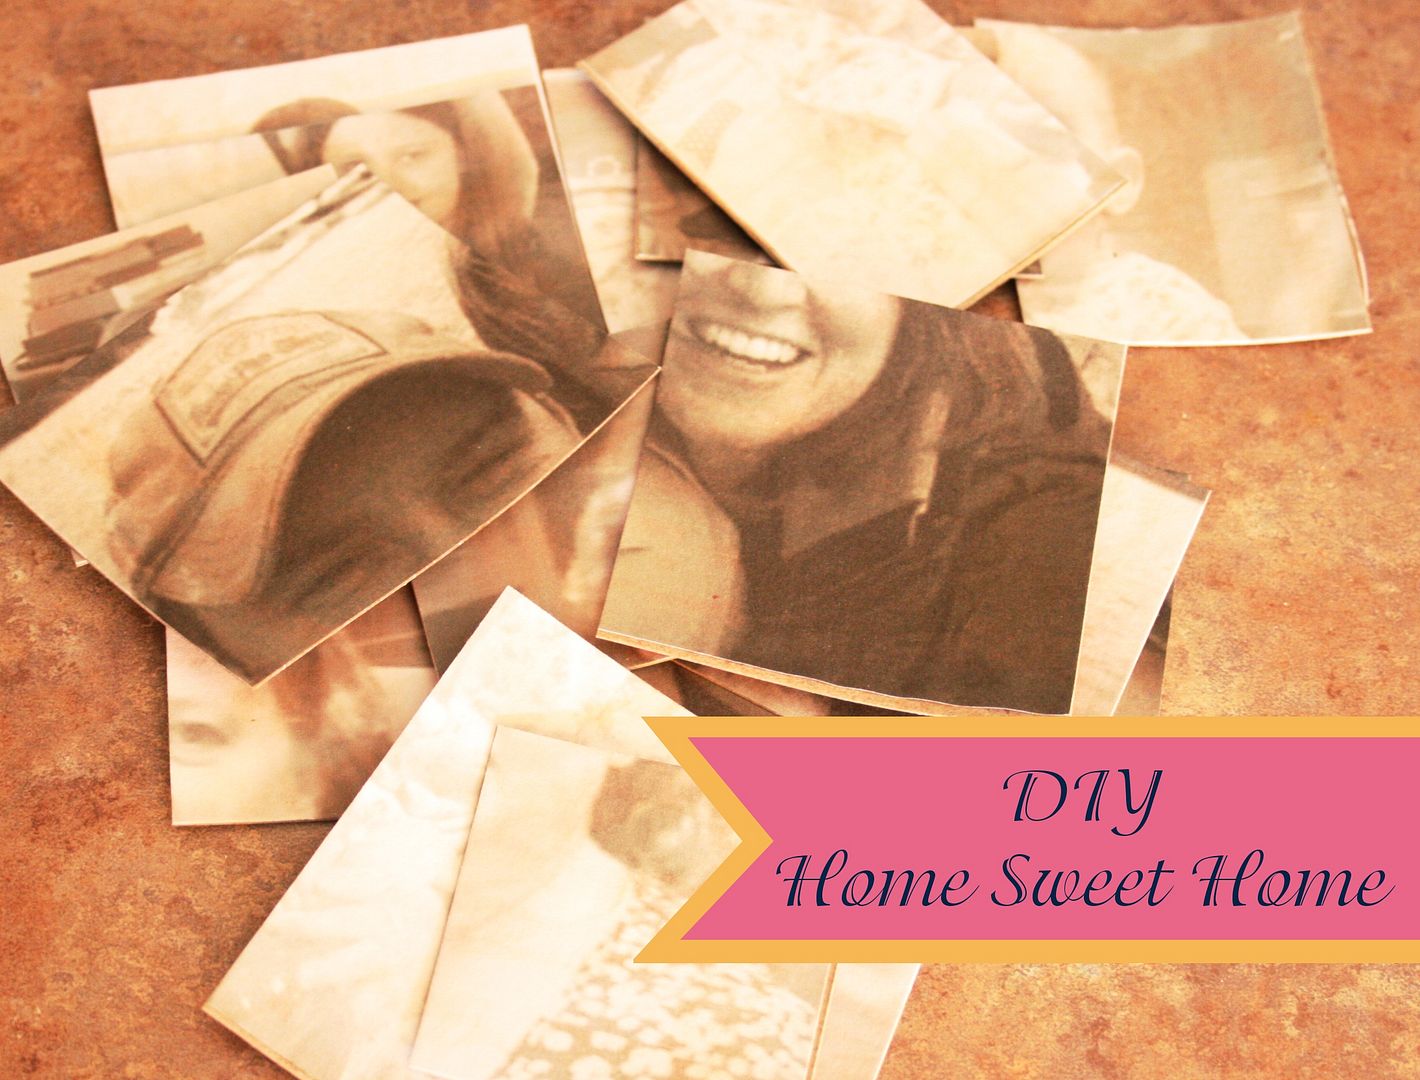
During our trip we were going to be visiting with family members that Jocelyn has not seen since she was little and Serenity has never met. I thought it would be fun to print out some photos of those family members and make a puzzles with them. This way the girls could familiarize themselves with their cousins, aunts, uncles, and grandparents before we got there. I think this helped Serenity out a lot since she is going through her 'stranger danger' phase. I glued the photos onto some cardboard so that they wouldn't rip and be easier to work with.

This fishing game was super simple to make. I cut the fish out of bright colored felt and used permanent marker to draw on the eyes and mouth. I hot glued a paperclip to the back of each fish. The magnets were leftover from a project I did a while back. I wrapped some cotton string around them then added a dab of hot glue to make sure the string stayed in place. I tossed the fish onto the floorboard of the car before giving each kid a magnet. They dropped the magnet down while holding onto the other end of the string. The car seats are up high enough that they could not see the fish. Each girl had a blast tossing the magnet down then pulling it back up again to see if they had caught anything. They got super excited when they caught more than one fish.
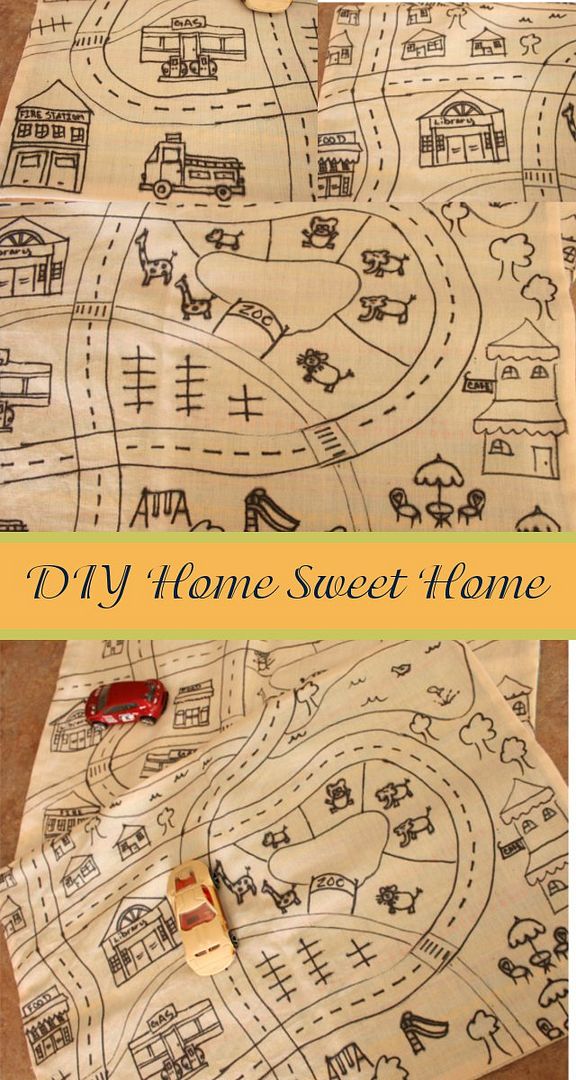
While on vacation we made a point to visit the zoo. There is not a zoo close to were we live and the kids have not been to one in over a year, so we thought they would enjoy it. Using permanent marker, I drew this fun map onto some muslin with a zoo right in the center. I also included a fire house, cafe, pond, park, gas station, library, market and a few houses. Then using some fun fabric in the same size, I sewed right sides together, turned it inside out and sewed it shut. I also gave the girls a couple cars to drive around the map. Even though they are a little too big for the roads, the girls did not seam to care. I cut these maps to fit perfectly onto their travel mats. It worked out great and kept the car from rolling onto the floor. (This map is a close copy to a larger one I found on pinterest however I lost the link. If you know what I am talking about I would appreciate it if you gave me the link so I could give credit.)
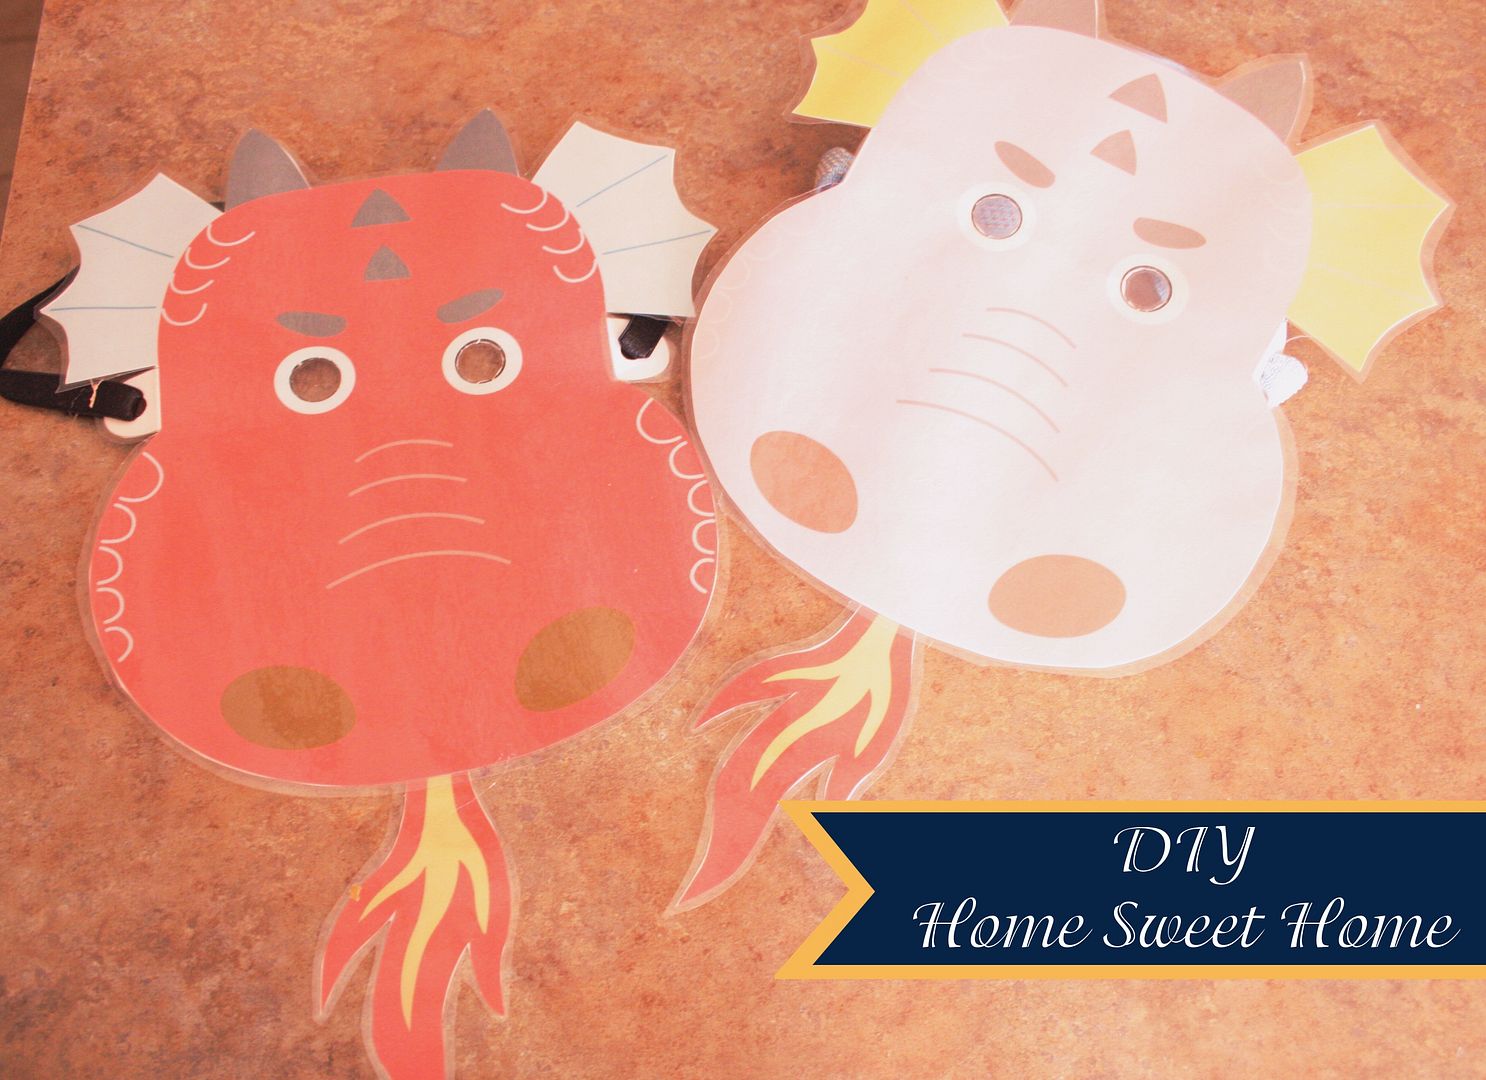
I found these free, printable dragon masks and thought the kids would enjoy pretending to be dragons on our trip. I let the girls pick out what dragon they wanted and then laminated them so that they would last longer. Jocelyn wore her mask for most of the trip home. Serenity didn't enjoy it quite as much and was tired of wearing it after only a few minutes. I'm so glad that I laminated them though. I have a feeling they will be getting a lot more use in the future.
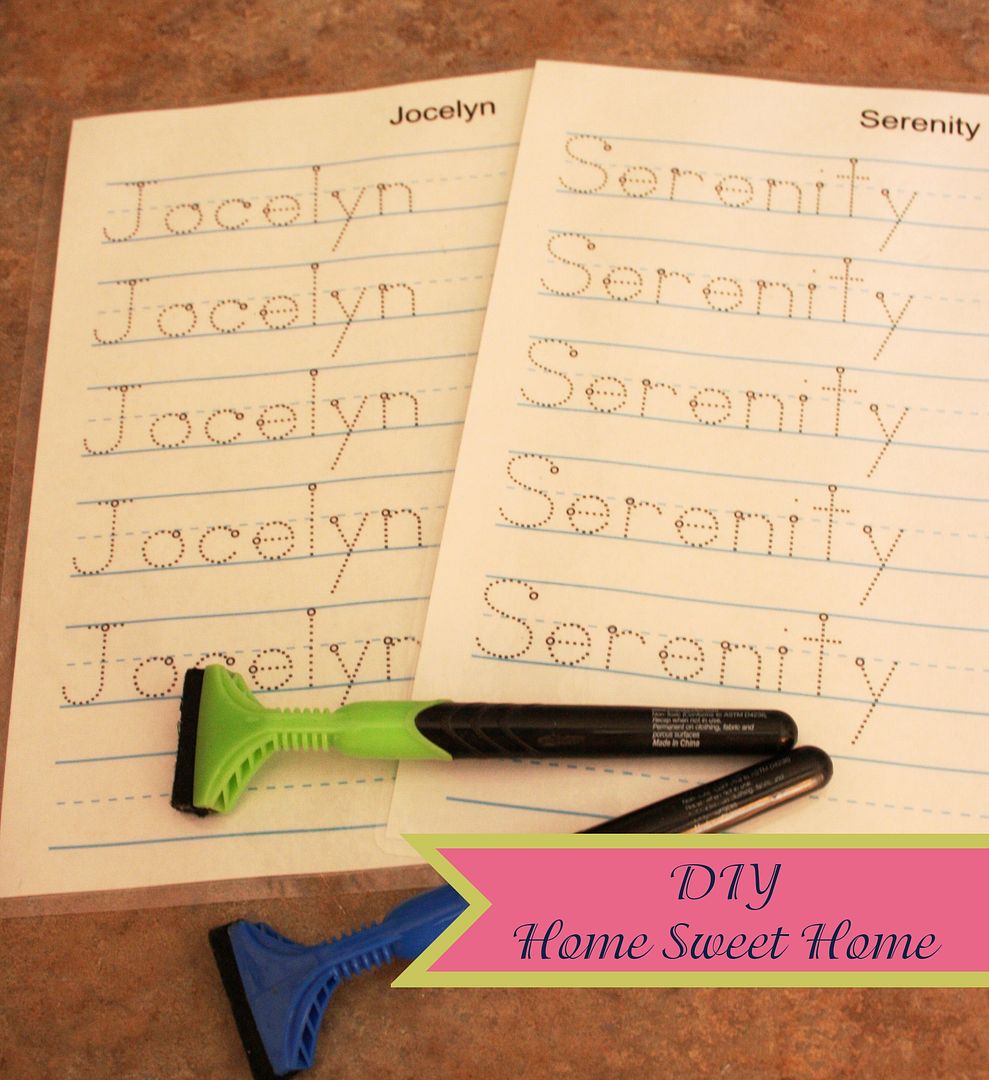
Jocelyn is learning to read and write so I was so excited when I discovered handwritingworksheets.com you can enter any word or phase and it will turn it into a handwriting worksheet. I made one for each of the girls using their names and then I laminated them. ( I love my laminating machine, can you tell?). By laminating them, not only will they last longer but the girls can write on them with dry erase marker and it wipes right off so they can try again. This is a little advanced for Serenity but I knew the girls would argue if I did not give them the same activity. She did enjoy coloring all over the sheet and wiping it off though. And it will come in handy in a couple years.
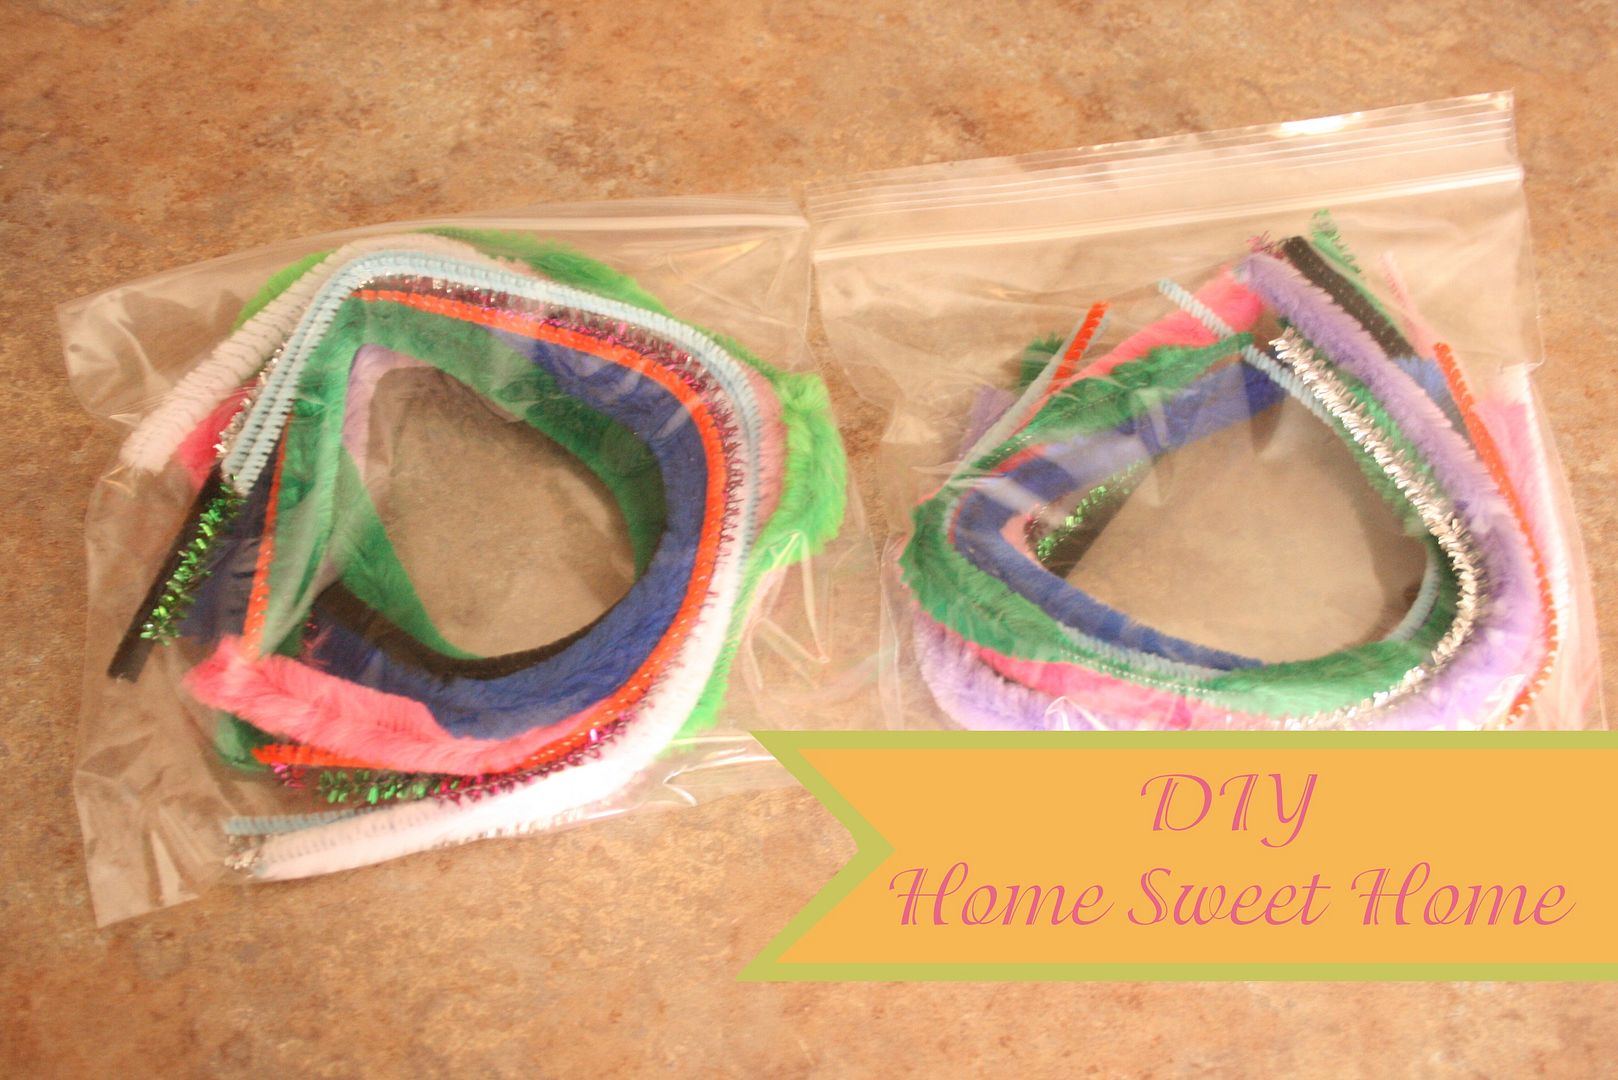
Pipe cleaners are always fun (actually I think they are called fuzzy sticks but I grew up calling them pipe cleaners so pipe cleaners they shall be.) The girls made all sorts of bracelets, necklaces, lizards, snakes, and monsters out of these. Serenity got a little upset with these since she wanted to make the same things that Jocelyn was making but just couldn't get the hang of it. However, she still had a lot of fun with them and even had to show off her bracelets to the cashiers at the gas station.

Remember the busy book page I showed you a couple weeks ago? Well I didn't get to far with that. In fact I only finished one more page. I decided to sew the two pages together and insert a piece of cardboard between them (to make it stiffer) for the time being. Maybe one day I will actually complete the book but for the sake of the trip, this worked out perfect. I did make two of them so the girls could each have their own. On the other page I attached some fasteners. The girls enjoyed the the fasteners but the button side was the biggest hit. Serenity was happy when she figured out how to work the buttons.
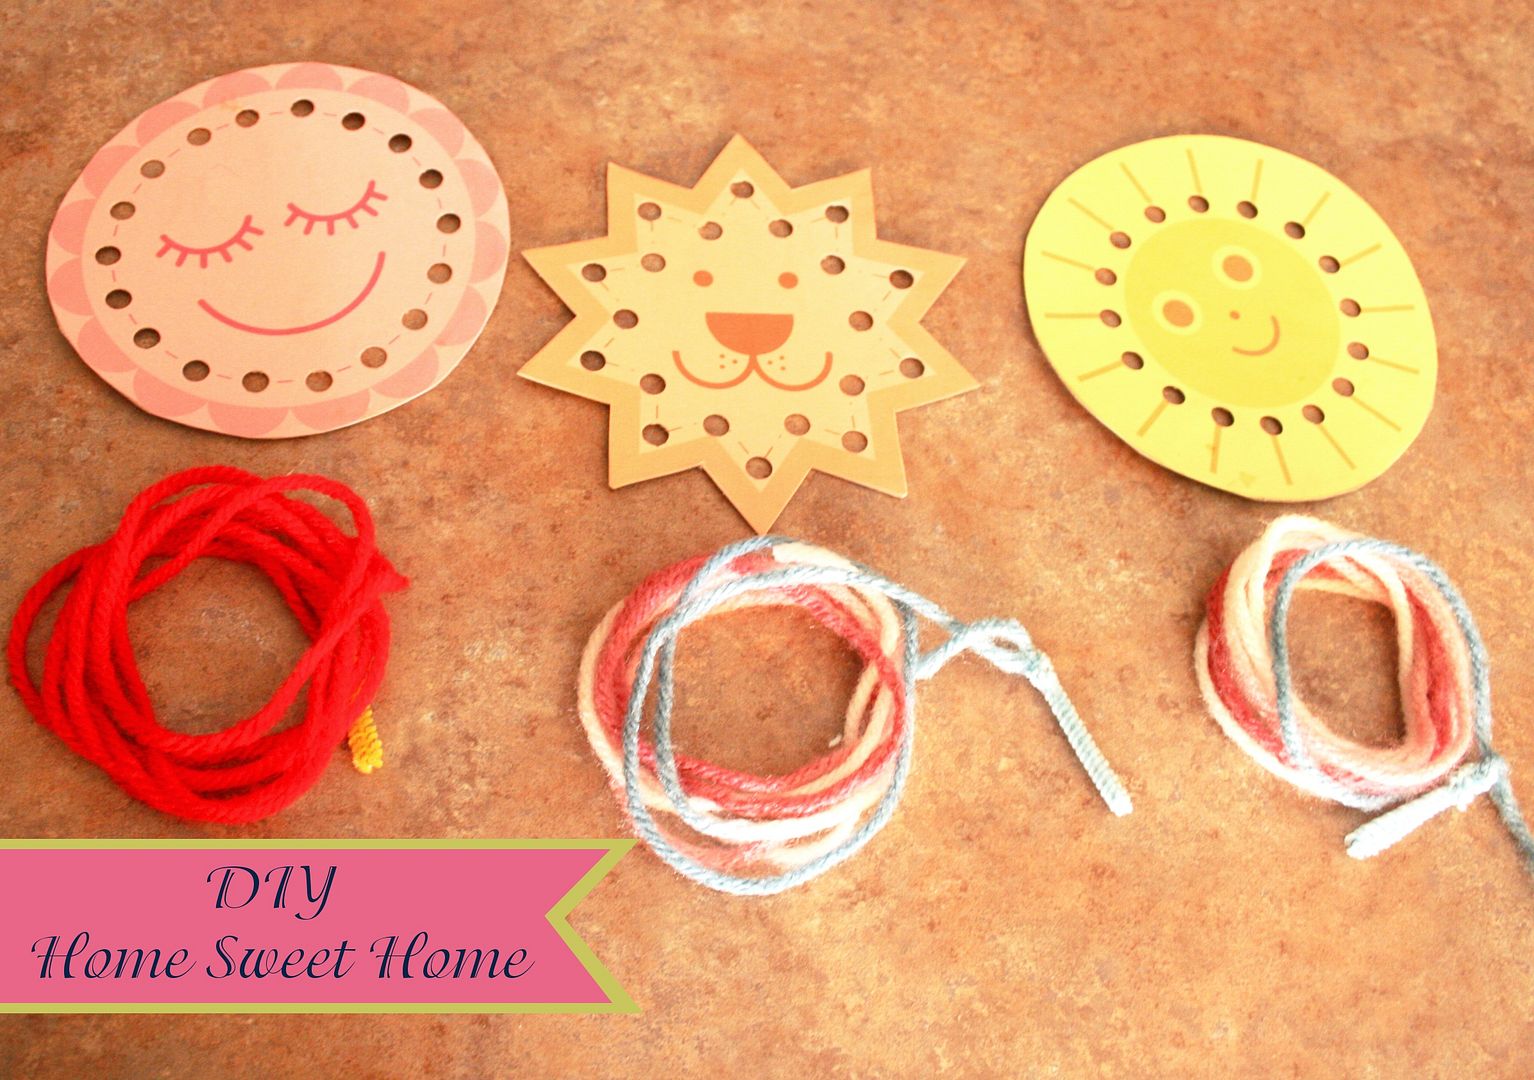
I love these adorable, printable sewing pattern! I glued them onto some cardboard to make them easier to handle. The 'needles' were made with pipe cleaners and attached to a long piece of yarn. While working with these Jocelyn kept saying "Mom, I'm getting to be good just like you." Now she is determined to start using my sewing machine. Lol, Serenity began by placing the yarn through any random hole but when she saw Jocelyn's in a nice pattern she asked me to help her. With only a few simple instructions she was able to do it all by herself.
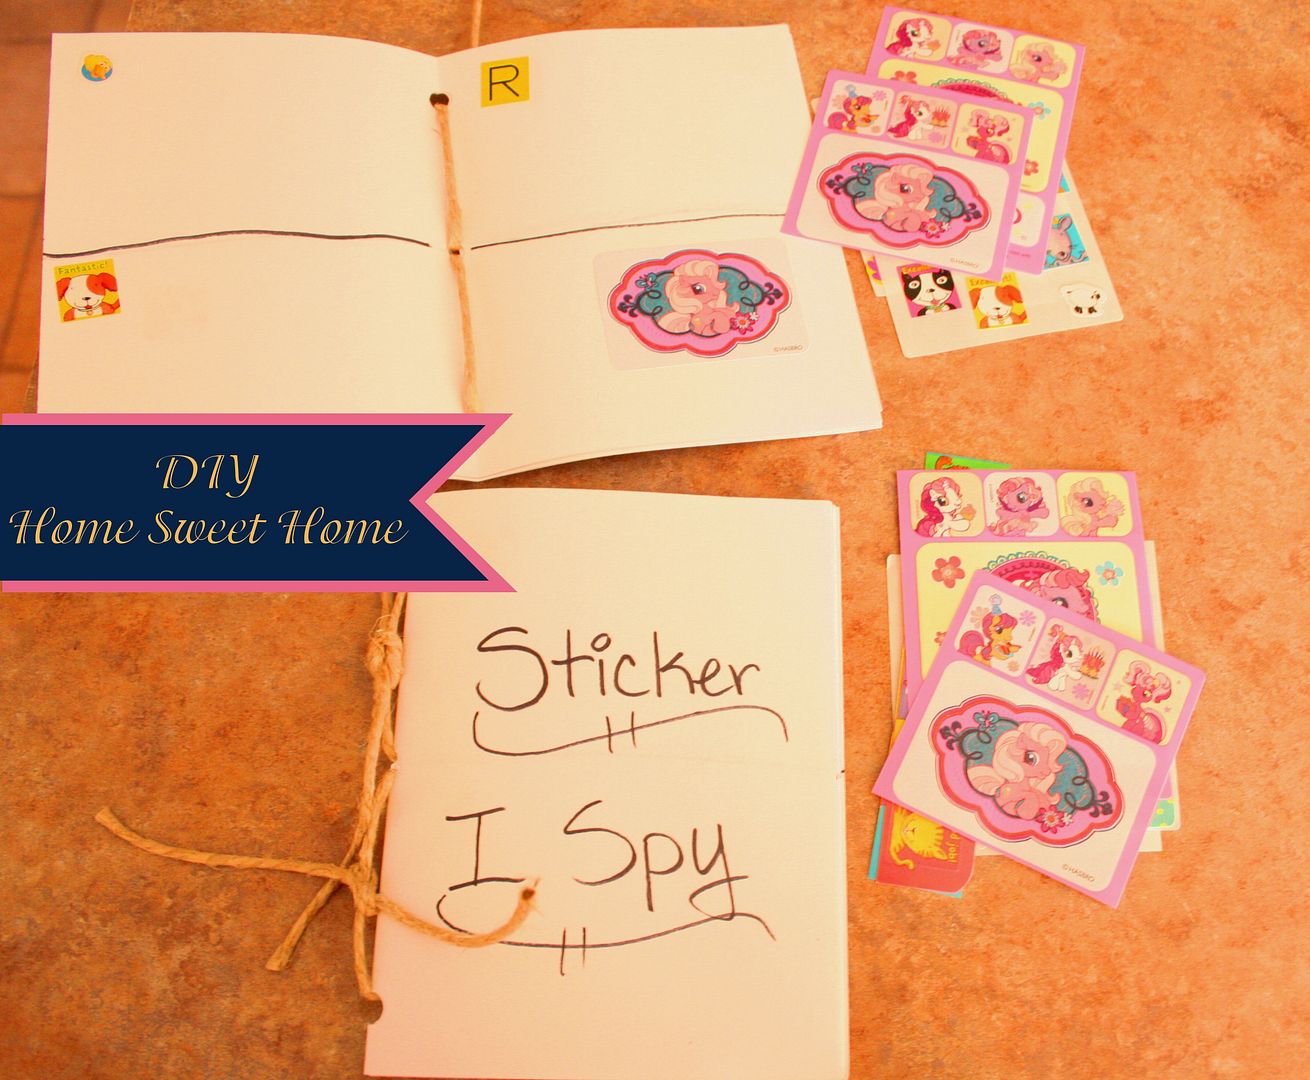
This sticker book was a super simple to make and kept the girls entertained for quite some time. The book was made from plain paper, cut in half and folded. I punched holes in the center and tied it together. (fancy, right?) I have a whole stack of stickers and many of them have doubles. I took the doubles of each sticker and placed them randomly throughout the book. The matching stickers were handed to the girls and they had to go through the book and match up the pairs. Jocelyn was great at finding the matches and also helped Serenity out with hers. Serenity loved this activity but had more fun placing the stickers randomly throughout the book instead of finding matches. If your kids are younger (3 or under) I would suggest just giving them some paper and stickers and skip the matching part.
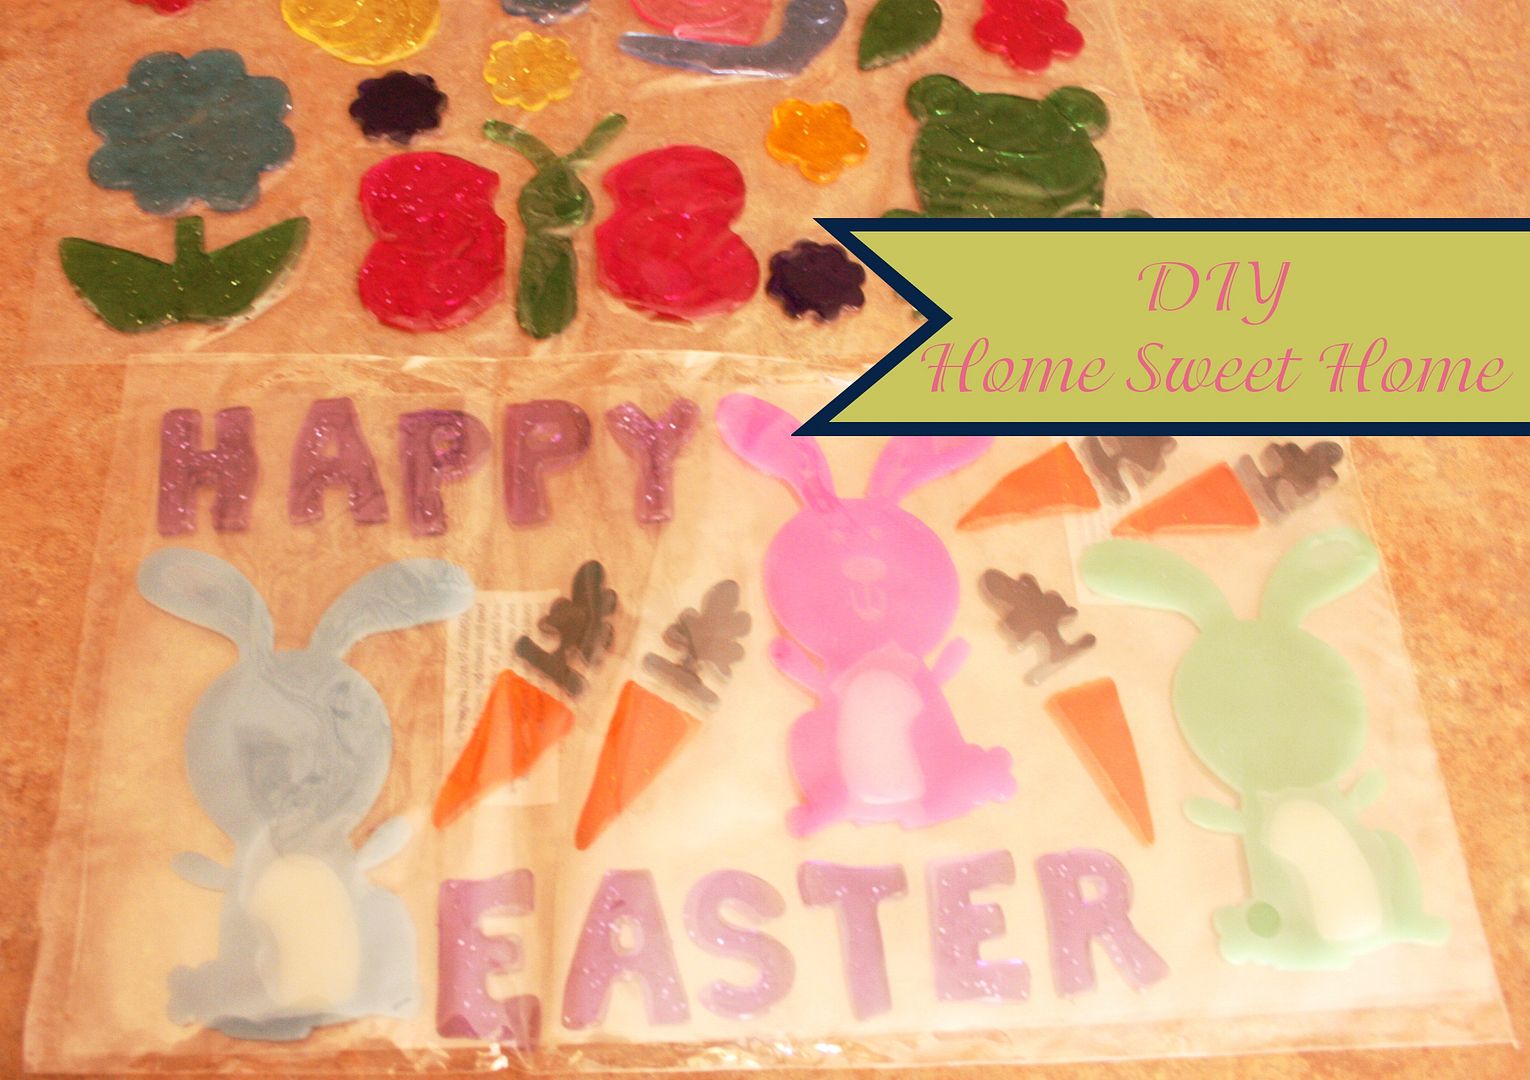
These window stickers were left over from Easter. The girls had fun placing them on the window, taking them down, and then putting them back up again. Jocelyn even liked to tell stories about the bunnies and frogs at she was sticking them to the window and moving them around to go with her story. Serenity found Jocelyn's stories to be very entertaining and even tried making up a few of her own.

I had a couple plastic snakes, chalkboards and a ball n' cup game left over from Easter that I forgot to put in their Easter basket (oops). The Glow in the dark butterflies and bracelets were from the dollar store and kept the girls entertained once it was dark. The two cameras are older and do not get used much anymore so I thought the girls might have fun taking pictures along the trip. Serenity had trouble pushing the button down hard enough to take photos and soon gave up. However, Jocelyn had her camera by her side the entire trip. She had a blast take photos of all the animals at the zoo even though many of them did not turn out. She also took a gazillion photos of her feet.
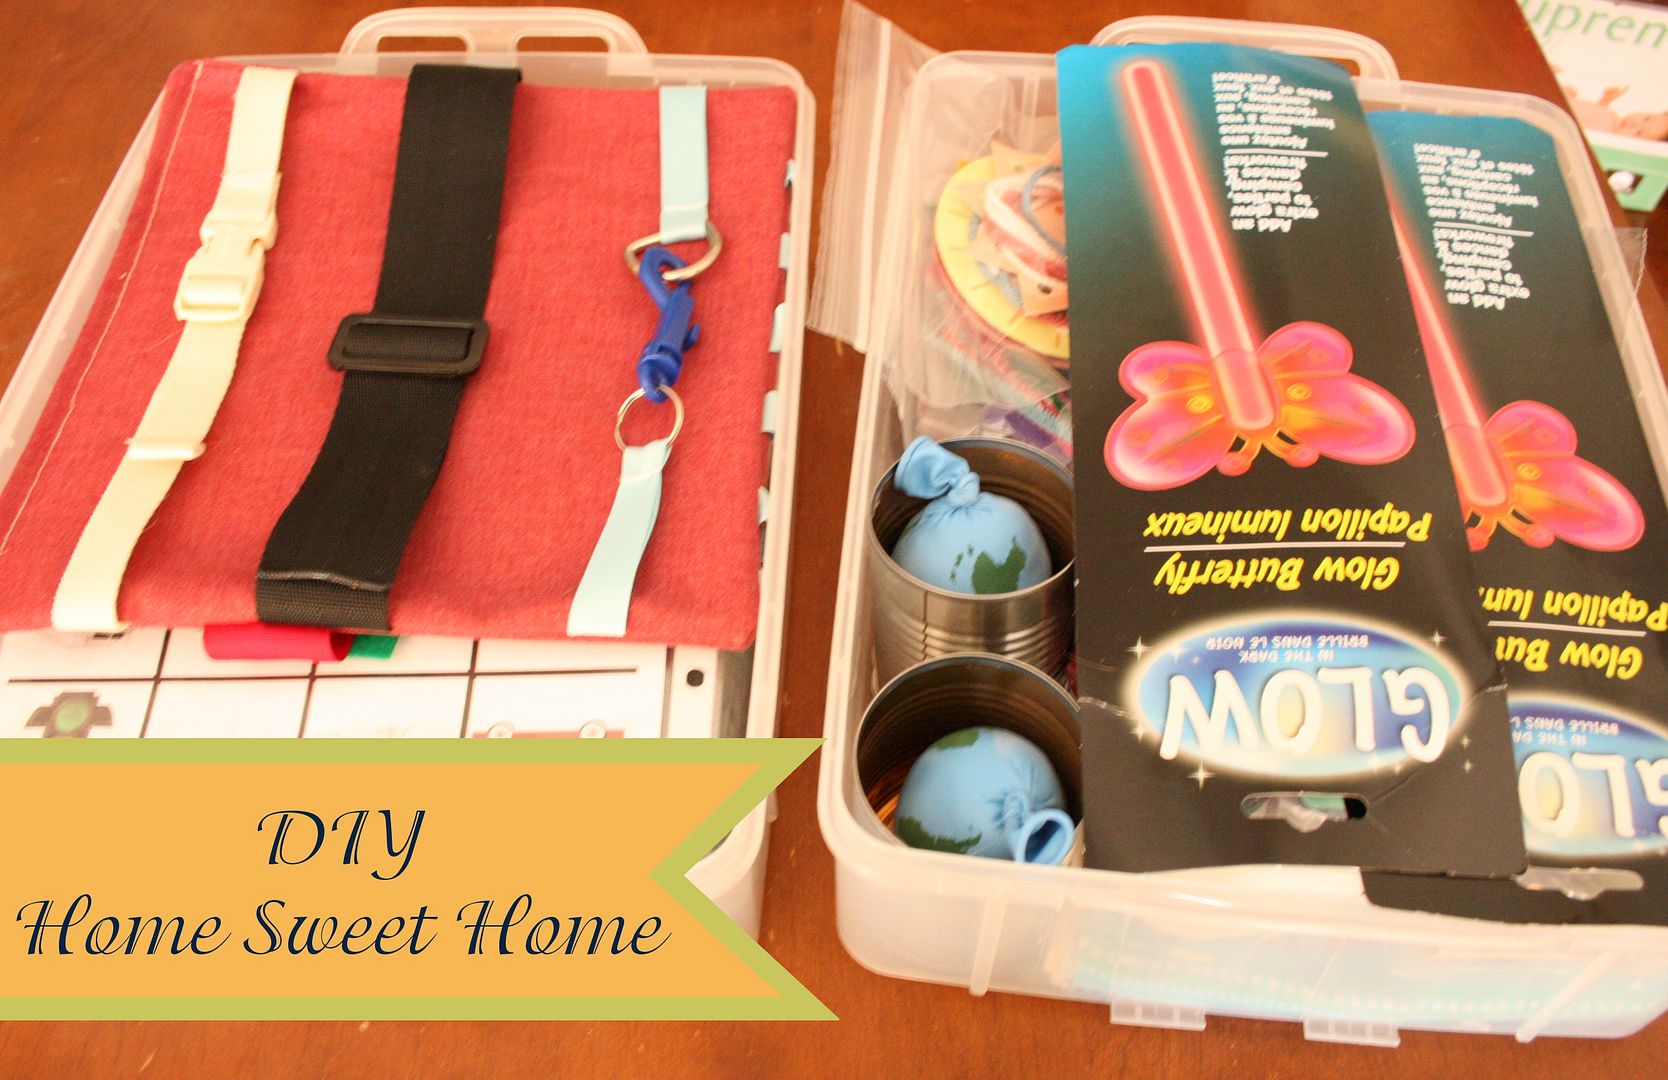
I dug these plastic tubs out of our garage (they are part of a cupcake carrier that we hardly ever use.) and stuffed everything inside of them. They slide under the back seat perfectly which kept everything out of the way and I could easily reach back and grab what I needed.
I was planning on getting a new activity out every hour, however, once we were on the road I decided to just grab a new activity whenever I could tell that the girls were getting board or cranky. Sometimes they would only last a few minutes between activities and other times they would go several hours. This way, I had more than enough activities to keep them entertained both ways. If I had given them one every hour then they would have had nothing new to play with on the trip home.
The trip ended up being a huge success (both ways). There was very little crying and overall, everyone seemed to have a good time. Even Hubby joined in on a few of the games. He especially liked the eye spy game and loved cheering them on during the fishing game.
Again, if you missed part 1 of this post your can read it HERE.
Don't forget to VOTE for me!!

This post is sponsored by Social Spark.
Get paid to blog!!