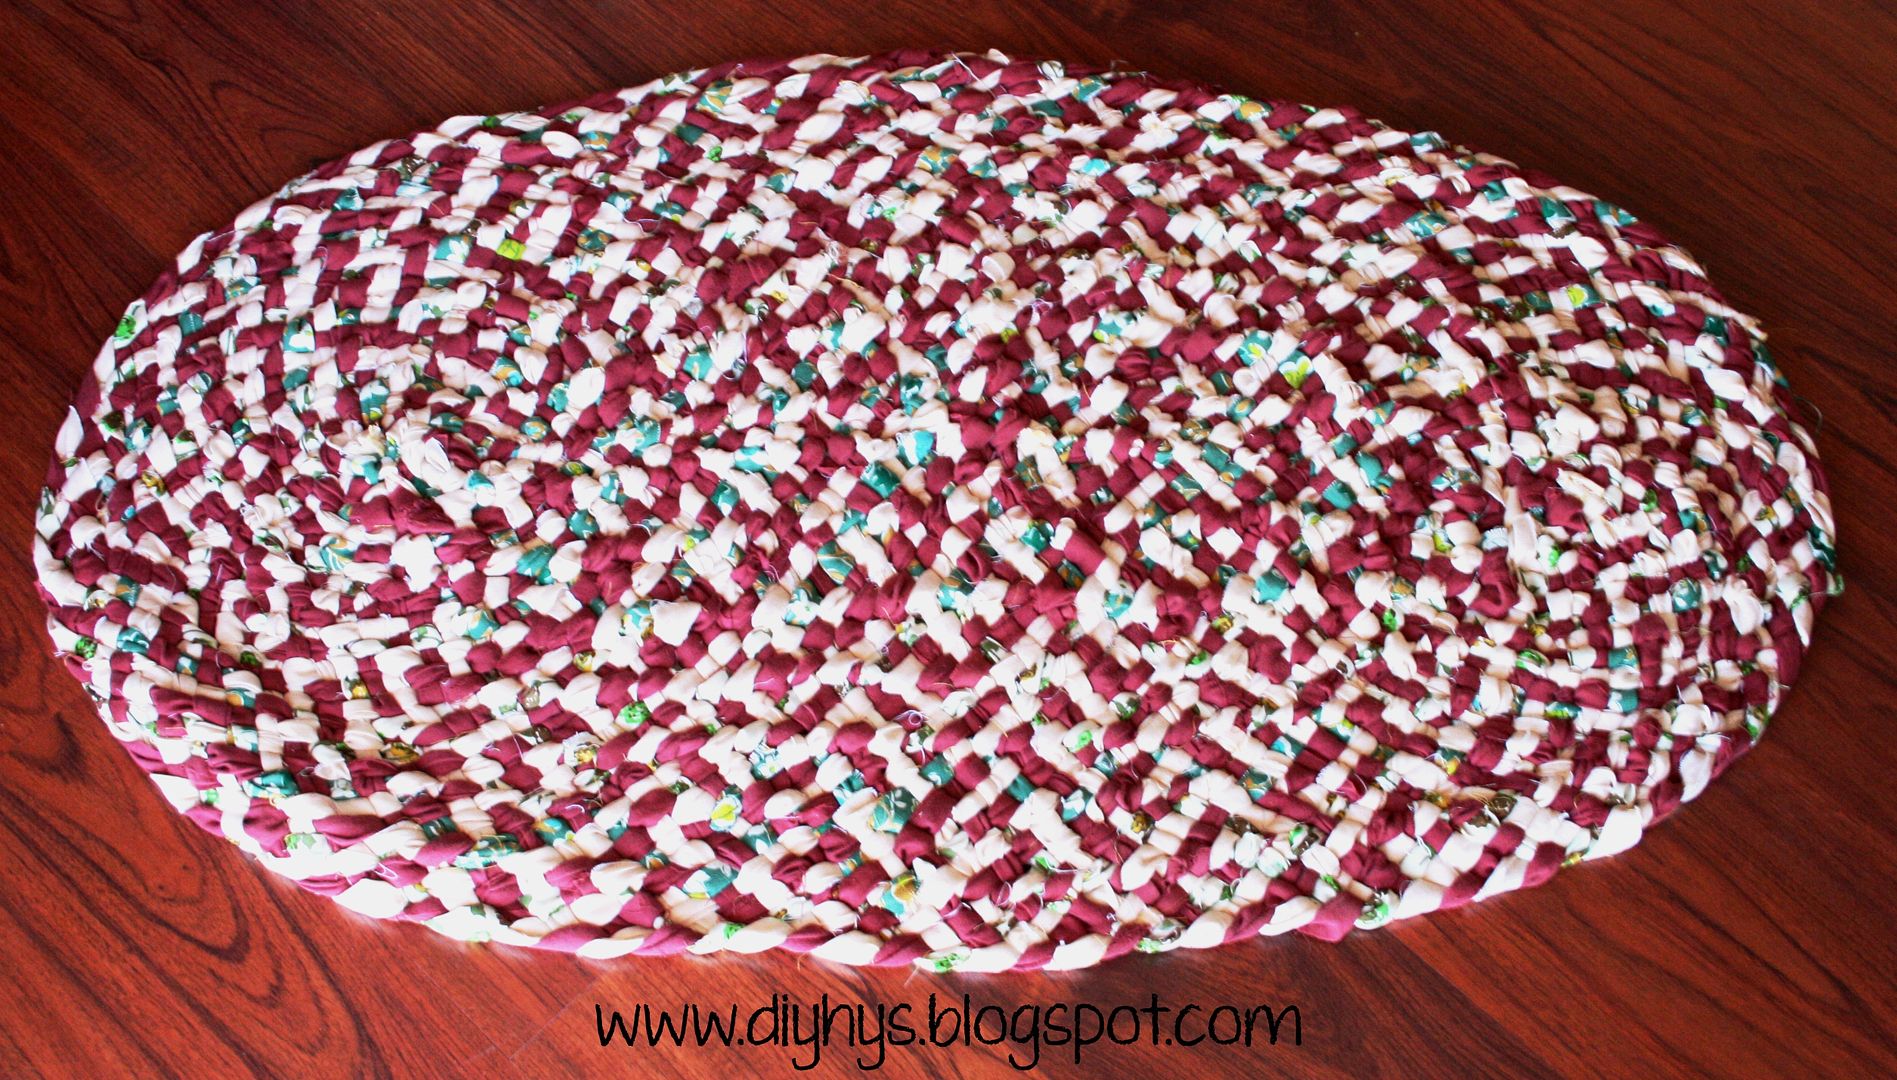
I am terrible and did not take any pictures while making this rug. I did however use some of my leftover scraps to put together just to take a few photos. If anything seem unclear or you have any questions, please ask away.
My rug measures about 4 feet long and 2 & 1/2 feet wide. I can't tell you how much fabric you will need for this project because I don't really know. The red fabric you see is a flat queen sized sheet (and I only used about 2/3 of it) I used two different kinds of green fabric and a piece of cream colored fabric. I didn't really look at the size before I cut them up but I would think you could make a similar sized rug with 2-3 queen sized sheets.
Start by cutting your fabric into 3 inch strips. The length of each strip doesn't really matter but you need to keep a few things in mind.
- Longer strips will be harder to work with but you will have fewer ends to connect.
- Shorter strips means you will have to connect them more often. You can't see the connections unless you look close so this is your own preference.
- You need to make sure that your strips are different lengths. If they are all the same length you will have a bunch of connections together which will create a lot of bulk.
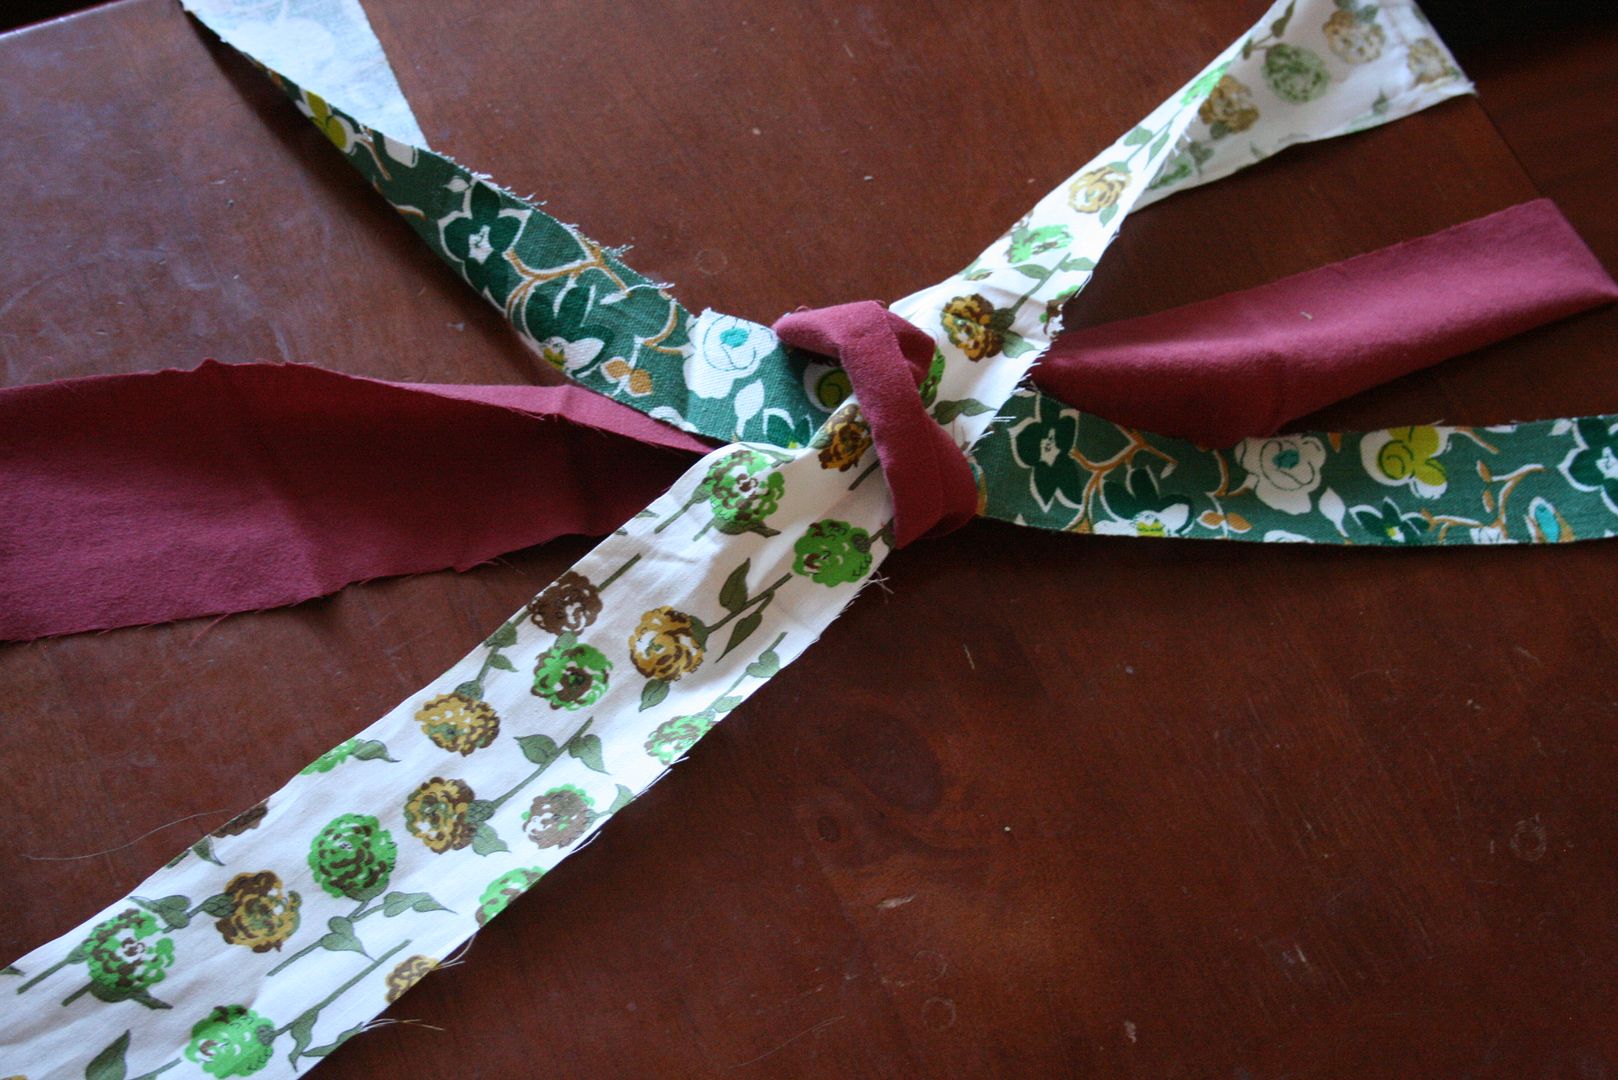
Tighten the knot.
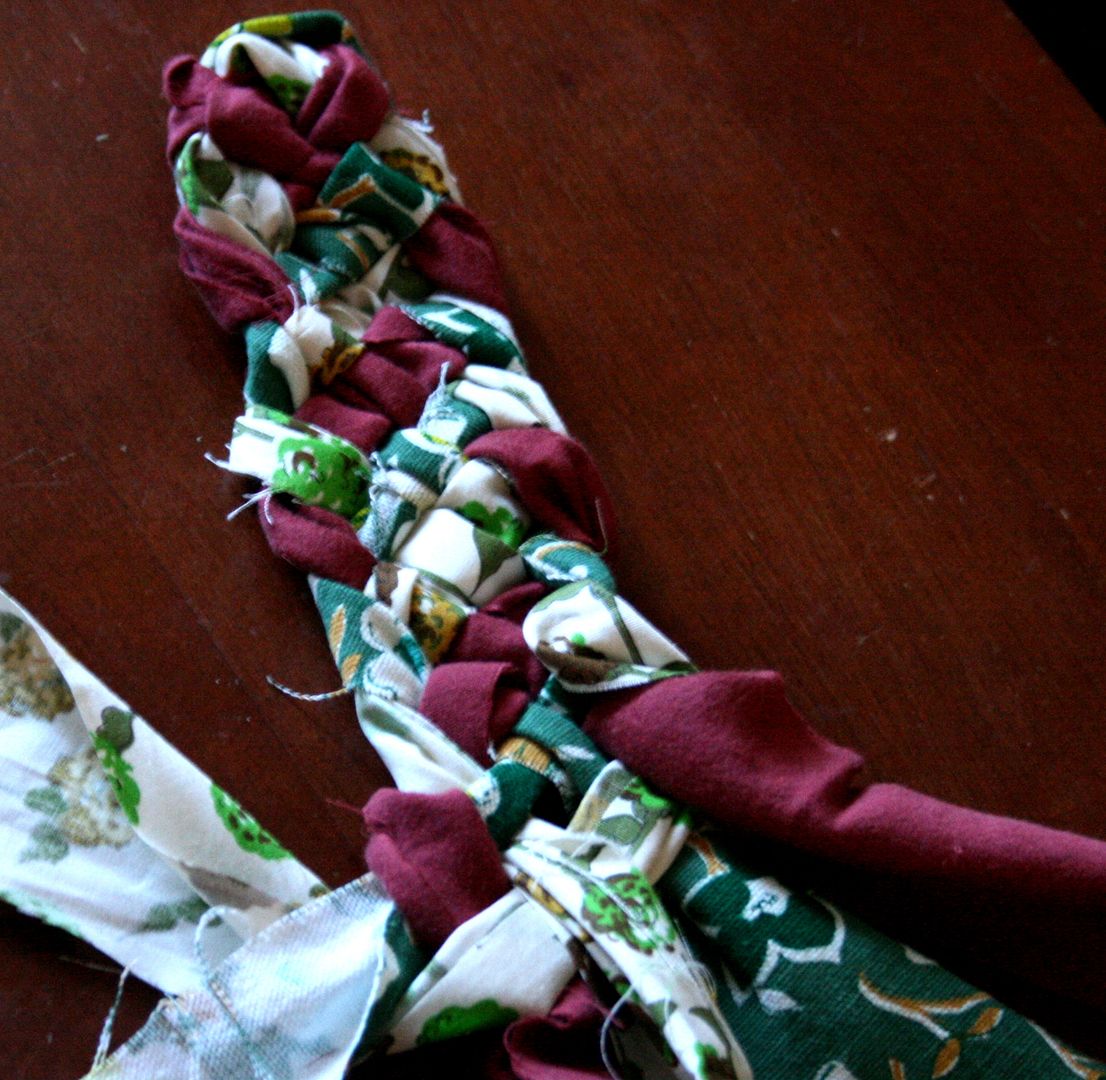
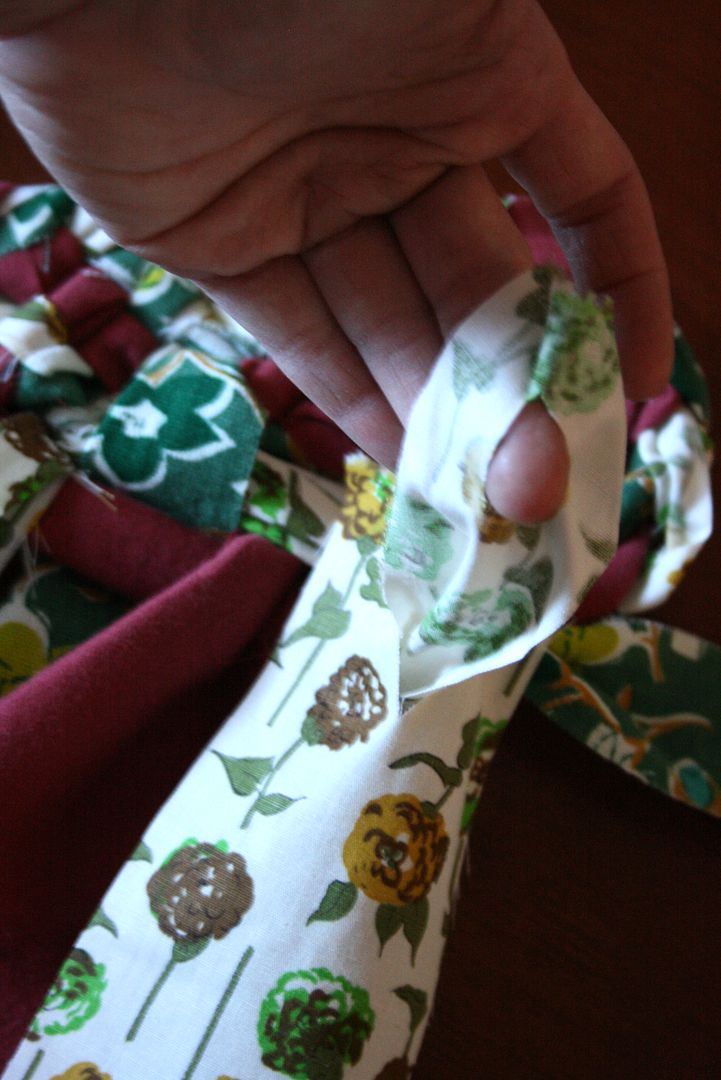
Then take the strip on the far right and weave through the other strips.
Continue weaving. Taking the strip on the right and over, under, over, under, over. It will be a little awkward at first but soon you will end up with something similar to this.
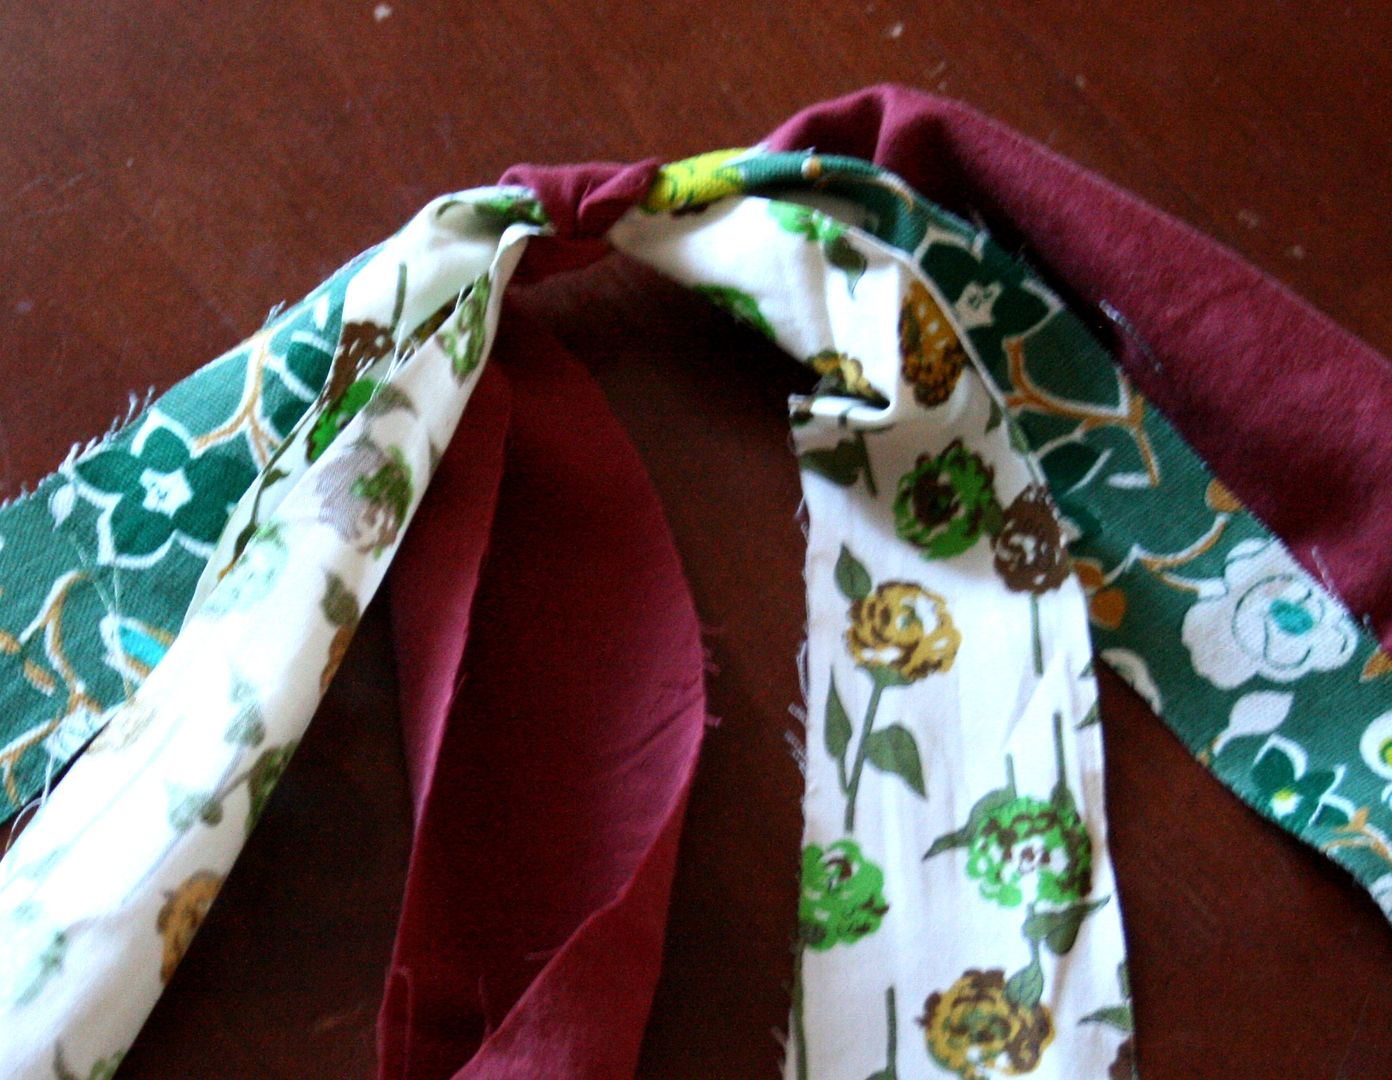
Once you get your "braid" to your desired length you will need to turn it. My original rug, my braid was about 2 feet long before I turned it. The longer it is the more oval your rug will be. For a more round rug you will want to go shorter. To turn, you will take the far right strip and go over, under, over, under, over then you will tuck it back it back through your braid like the picture below.
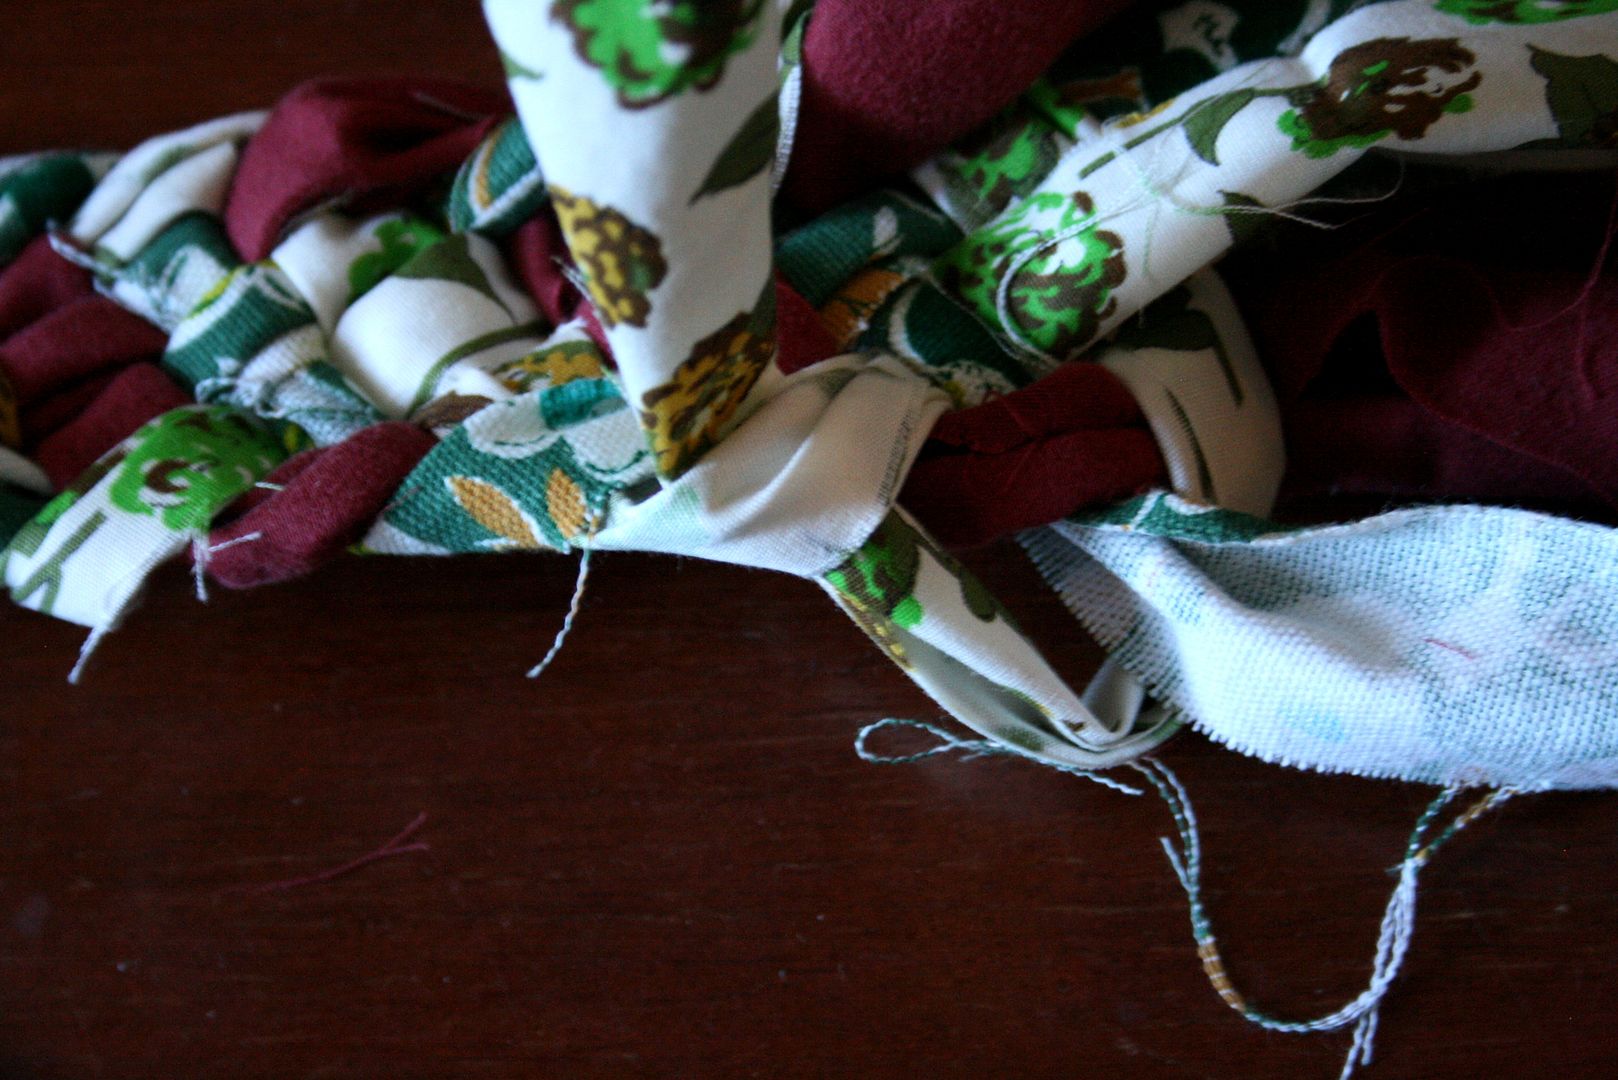
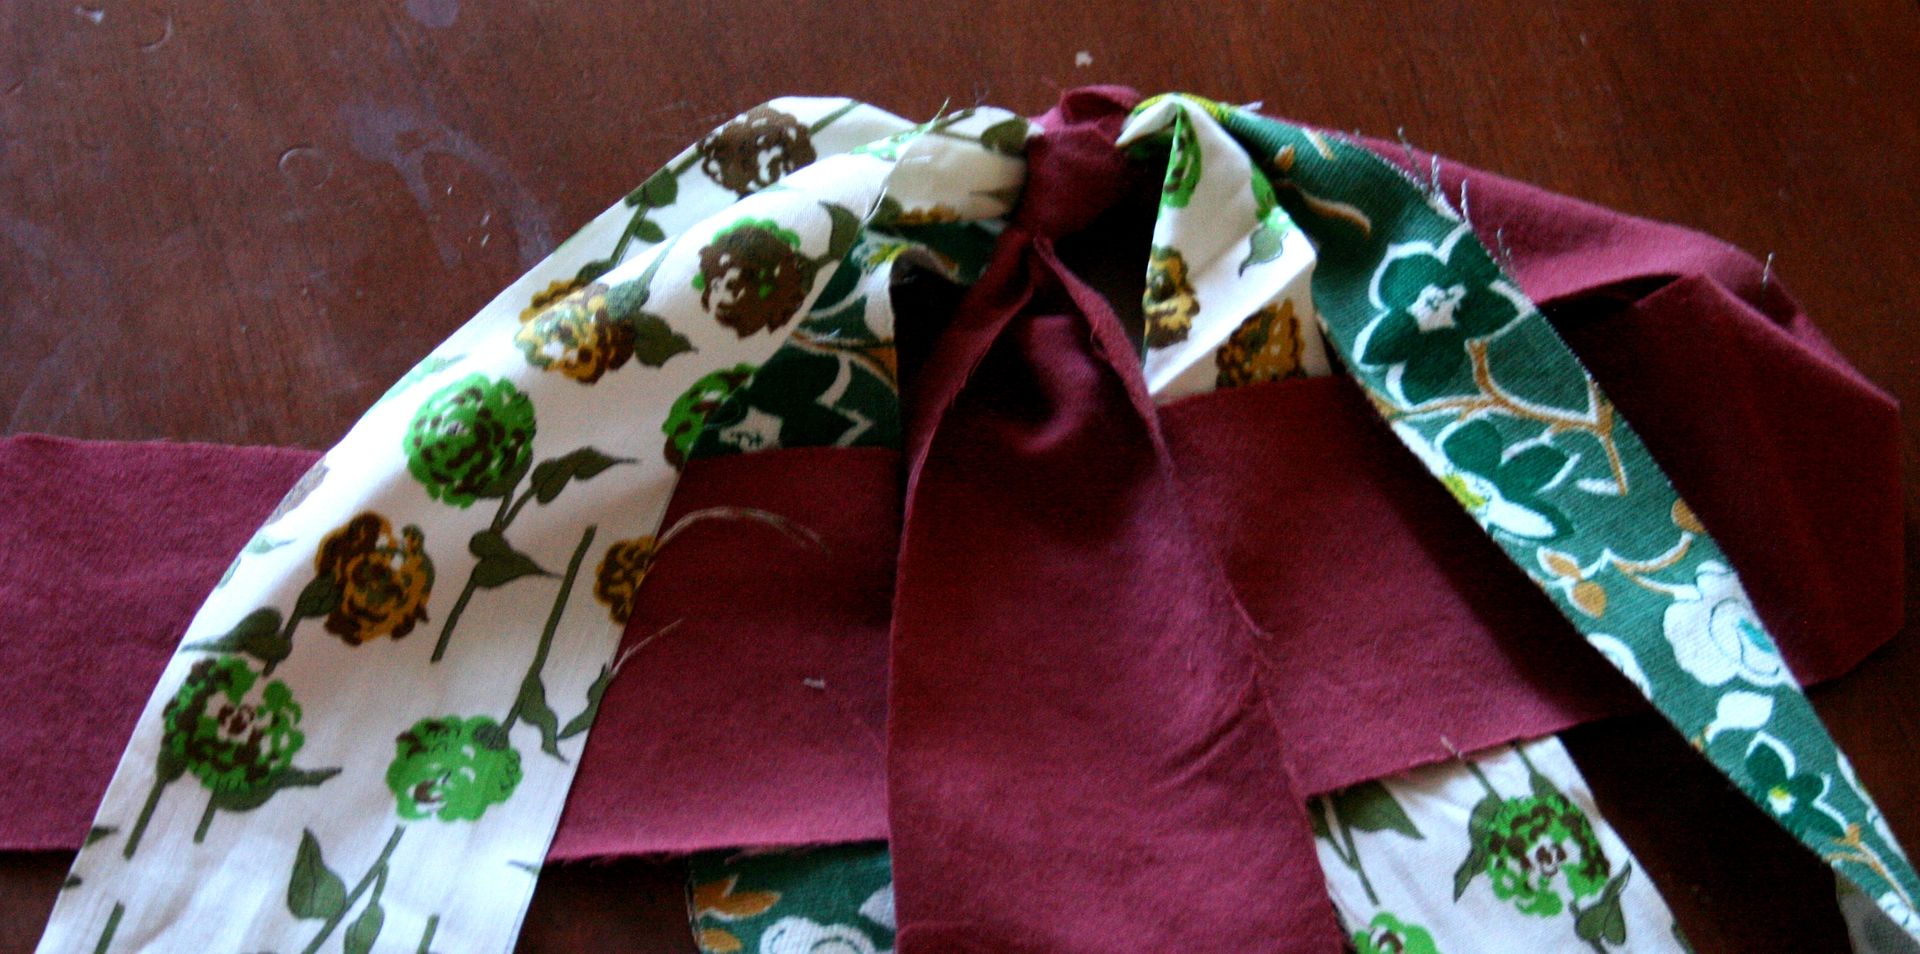
Continue doing this with the rest of the straps tucking each one into the braid next to the previous strap. (If you notice, I have a lot of strings hanging off of my fabric strips. I think if you tear the strips instead of cut them, you wouldn't have as many.)
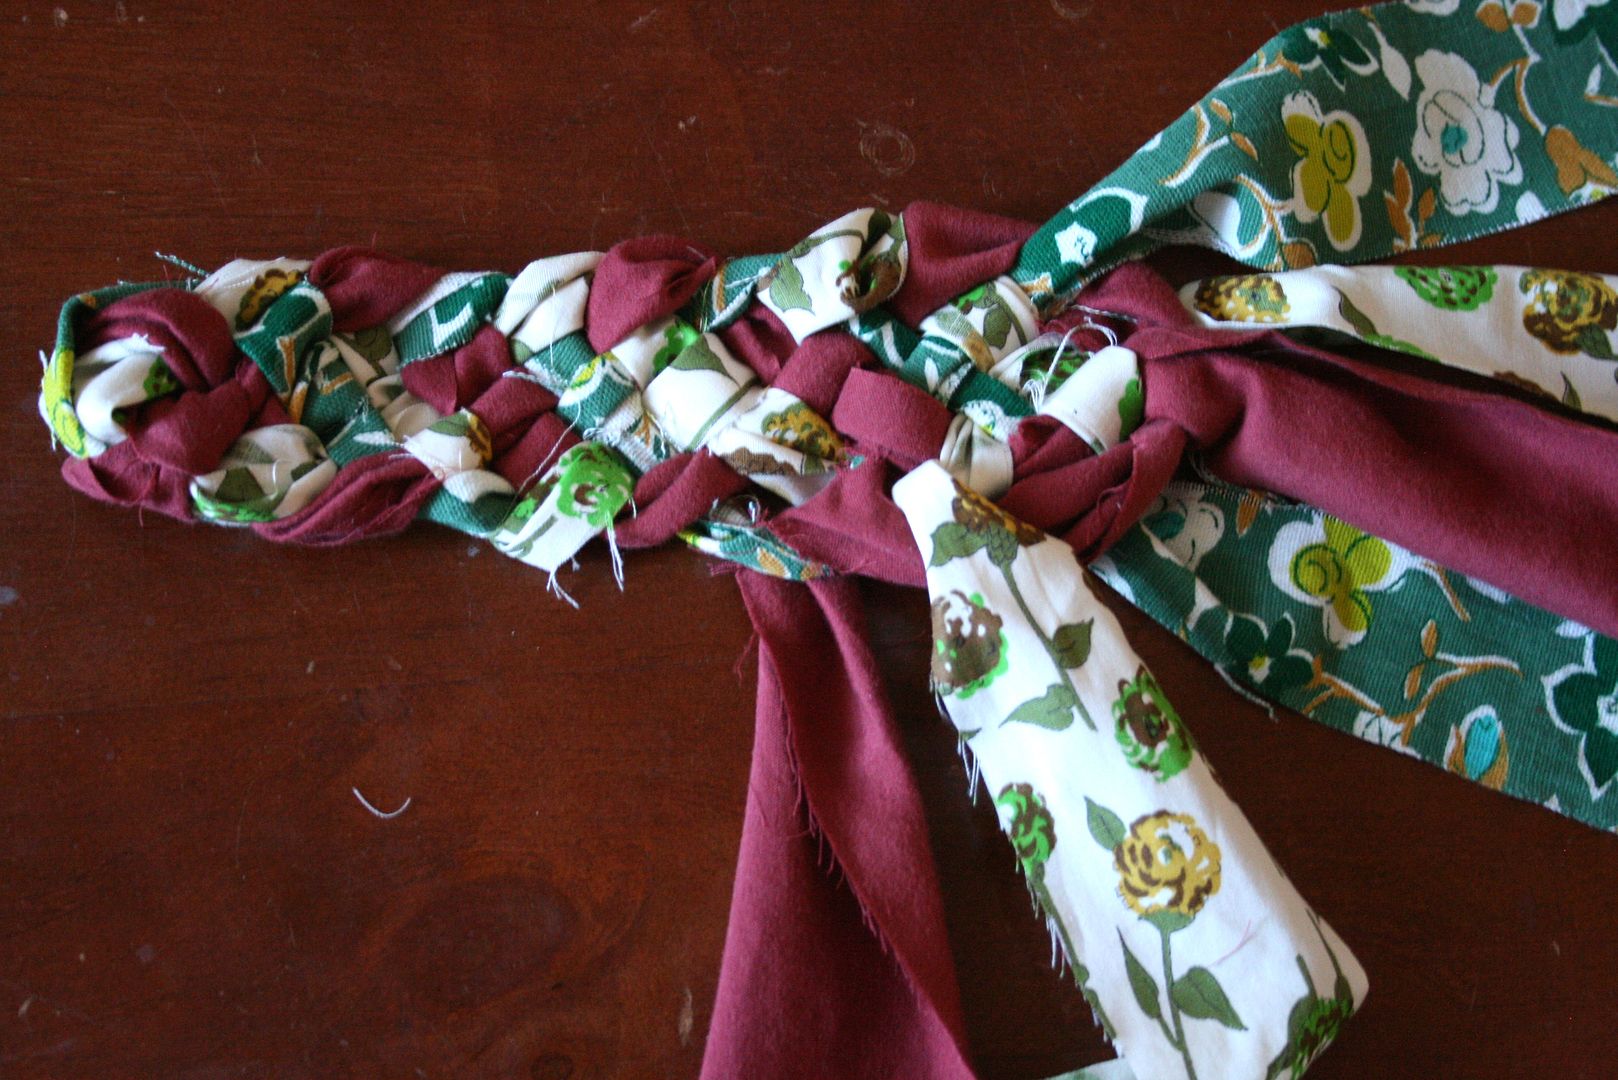
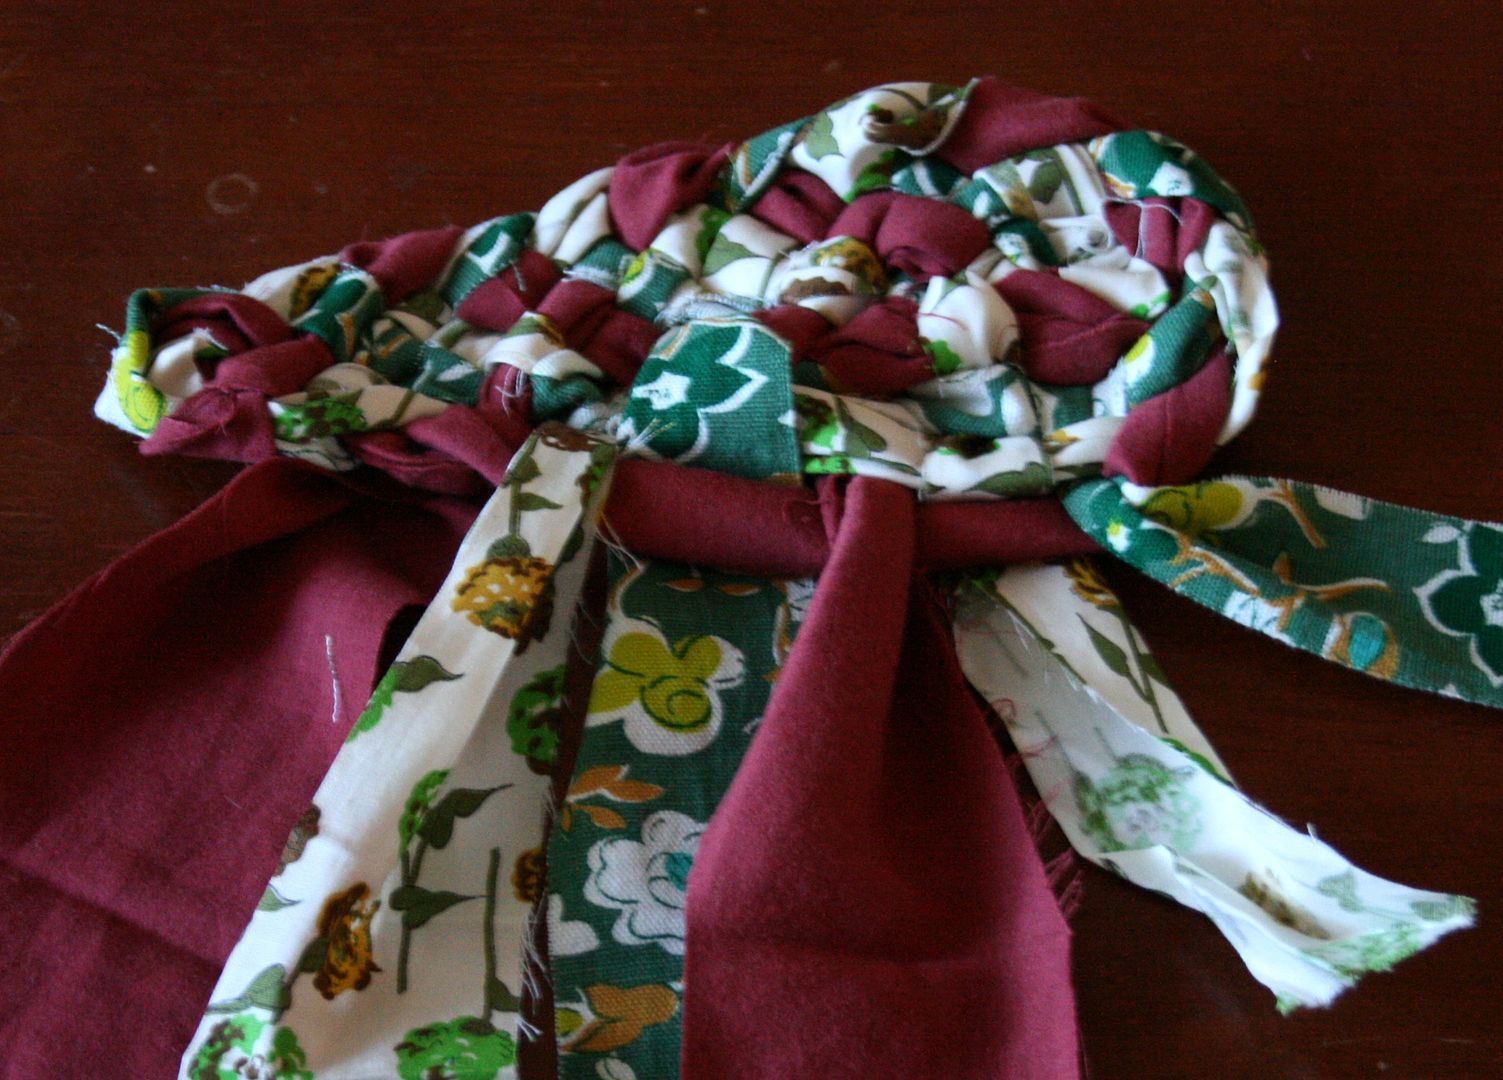
Continue weaving and tucking until your rug is the desired size.
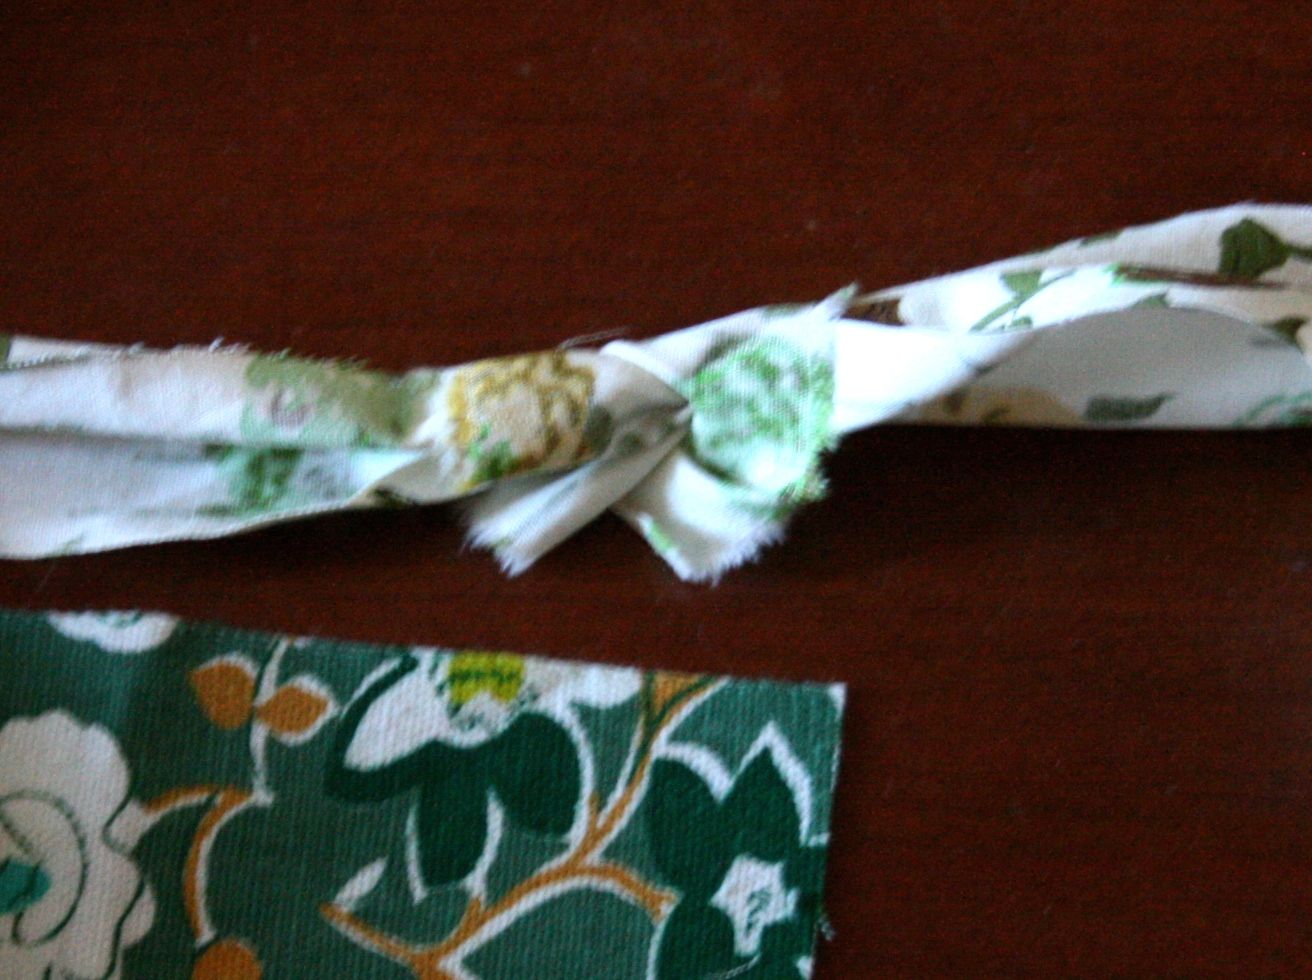
To connect strips you will need to cut a slit about 1/2 inch from the end of your old fabric strip and also one in the end of the new strip you will be attaching. Place the old fabric through the slit in your new strip.
Then thread the end of your new strip through the slit in the old fabric. You will end up with something that looks like this. (sorry it's blurry)
Once your rug is the size you want it you will need to gradually cut off the strips. To do this, take your strip on the right and weave like normal but after you tuck it you will tie your strip in a small know around the one you tucked it into and then cut it off close to the knot. Continue to weave the rest of the strips a few more time, then tie and cut another one. Continue to do this until you have tied all of your ends.
Don't forget to VOTE for me!!


This post is sponsored by Social Spark.
Get paid to blog!!


0 comments:
Post a Comment